Q:"Is it possible to rotate (90 degrees) already uploaded videos on YouTube?" - Radek from Stack Exchange
Q:"How to rotate video? I captured video vertically. I want to rotate and publish it horizontally." - Andrey Novik from YouTube Help Community

Are you one of the users who are still fretting about your upside-down YouTube video? Generally speaking, the first reaction of most people on this issue is to use YouTube Video Editor directly. However, after some practice, you should also find that the operation to rotate YouTube video is not as easy as before, especially for the uploaded one. If you're exhausted by now, this article shared today is your hope. It lists different yet absolutely workable solutions to rotate your YouTube videos at every step.
- Part 1: Creator Studio Classic
- Part 2: Joyoshare Media Cutter
- Part 3: Windows Movie Maker
- Part 4: iMovie on Mac
- Part 5: Online Clideo
Part 1. How to Rotate a Video on YouTube - Already Uploaded
Many users have reported that videos already uploaded can no longer be edited or rotated on YouTube. All you can do is take the original video or the downloaded YouTube video to enhance and re-upload further. Well, YouTube did officially remove a lot of useful video editing features, which are unavailable to be seen directly currently. Nevertheless, you can follow the steps below to activate native rotation buttons in YouTube Creator Studio Classic.
Step 1 Find Creator Studio Classic
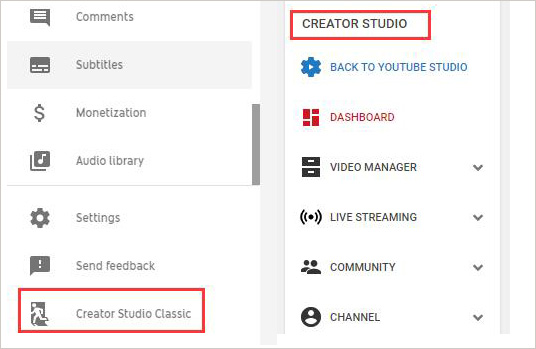
For whom with new version, sign in YouTube account and click on the "YouTube Studio" option on the right in your account drop-down menu. Next, scroll down to find "Creator Studio Classic" in the left column and press "Skip".
Step 2 Select video and enable rotation
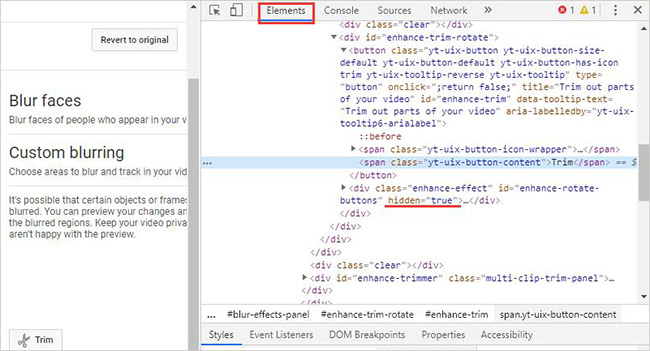
Go for "Video Manager" > "Video" to choose your sideway uploaded YouTube video. Then click the drop-down box to the right of its "Edit button > "Enhancements". Now right click the "Trim" button to select "Inspect". You will see a pop-up "Elements" tab on the right, which shows hidden="true" below the chosen line. Just double click to edit, delete it, and finish with Enter key. The rotation buttons will appear soon.
Step 3 Let YouTube rotate video
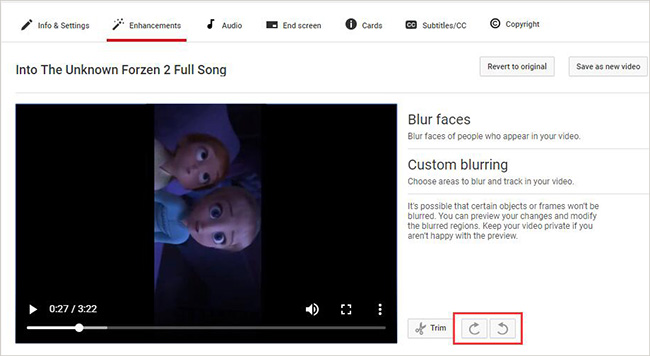
Play this uploaded video in the preview window. Afterwards, you can use either "Rotate Right" or "Rotate Left" buttons near to Trim to rotate video on YouTube and make it an appropriate orientation.
Part 2. How to Rotate YouTube Video - To be Uploaded
It's better if you notice that the video is not viewed from the right angle before you upload it. In order to change the rotation, you just need to apply a reliable video editor, such as Joyoshare Media Cutter, on Windows or Mac. This program is capable sufficiently of rotating YouTube video 90°, 180°, 270° or 360° clockwise or anticlockwise before uploading, largely due to its built-in video editing tools. Such nested design makes it available to edit and customize media files, in addition to serving as a lossless cutting tool to cut any audio & video with zero loss of original quality.
- Offer encoding mode and lossless 60X high speed mode
- Rotate YouTube video before upload to any 90 degrees
- Compatible with full mainstreaming video and audio format
- Cut YouTube video or any other media files with lossless quality
- Ideal editor to rotate, trim, watermark, flip, subtitle, crop and add effects
-
Step 1 Add a YouTube video
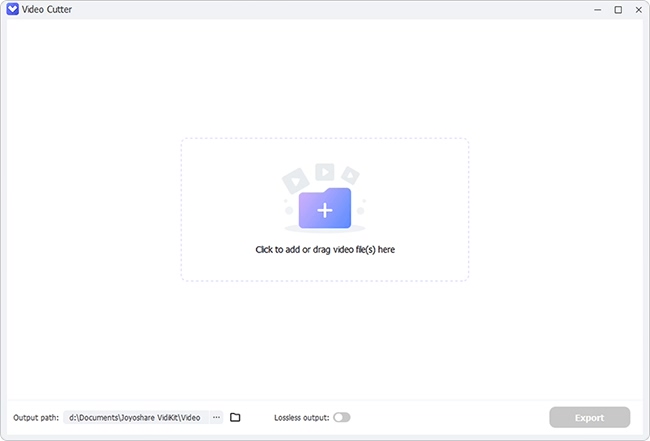
Get Joyoshare Media Cutter from the official download page. Simply run it and import your YouTube video. You are able to add with "Open" button or instantly drag and drop to the program.
-
Step 2 Choose mode and output format
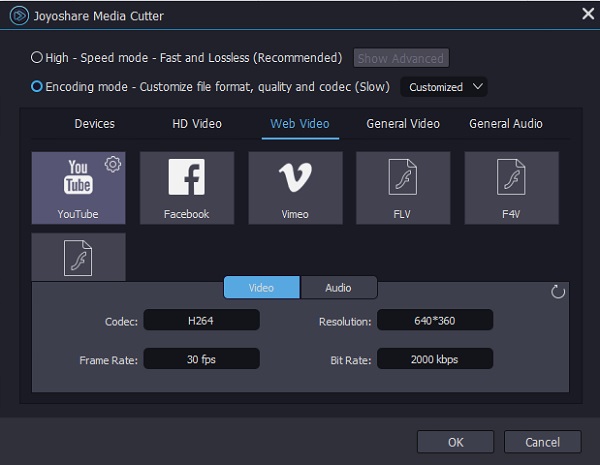
This program will automatically play the loaded YouTube video with its built-in media player. After that, you ought to go for "Format" to access the format setting window and then go for the "Encoding mode" > "Web Video" to select "YouTube" as the output format. Or, depending on your requirements, set any other export format. You are besides allowed to change resolution, codec, bit rate and more from its upper-right corner.
-
Step 3 Start to rotate YouTube video
When you are taken to the main interface, you should continue with the "Edit"
 option. Next, in the pop-up window, you can find "Adjust" tab, under which the "Rotation" section is available. Now it's time to rotate the added YouTube video left or right to 90, 180, 270 or 360 degrees as you like. Confirm the operation and click on the "Start" button in the main interface to save it on a preset location.
Part 3. Rotate YouTube Video in Windows Movie Maker - Before Uploading
Other than Joyoshare Media Cutter, Windows Movie Maker is also worth a try for Windows users when it comes to rotating a YouTube video. Although this software has already been discontinued officially, it is still usable if you have previously get your Windows device equipped with it. For how to make use of Windows Movie Maker to rotate a YouTube video for free, check the following guide.
Step 1 Import YouTube video
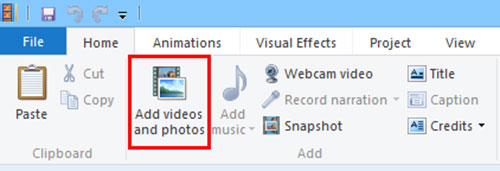
On your Windows computer, launch Windows Movie Maker first. Use "Add videos and photos" to import the YouTube video to be rotated from local system. Alternatively, you can drag and drop.
Step 2 Select rotation tool
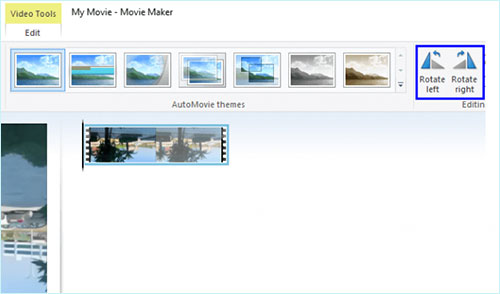
When yout YouTube video is loaded up, select the rotation tool from "Video Tools" tab. Based on your needs, you can feel free to choose "Rotate left" or "Rotate right" to rotate your upside-down or sideways YouTube video to the correct orientation.
Step 3 Export and save
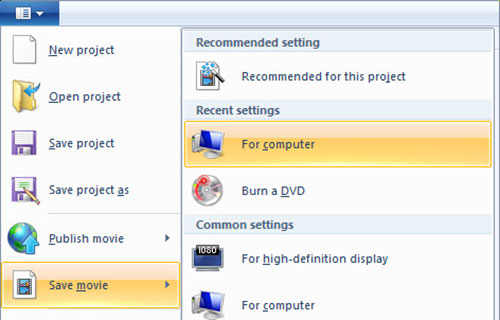
In the last step, the only thing you should do is navigating to "File", then to "Save movie" > "For computer" to export and save the resulting YouTube video to your Windows hard drive.
Note: Windows Media Maker has been disabled by Microsoft. It is not available for download anymore and is replaced by Photos app on Windows 10 operating system. Below is a quick guide on how to rotate a YouTube video using Windows 10 built-in Photo app.
- Step 1: On Windows 10, choose "Start" > "Photos";
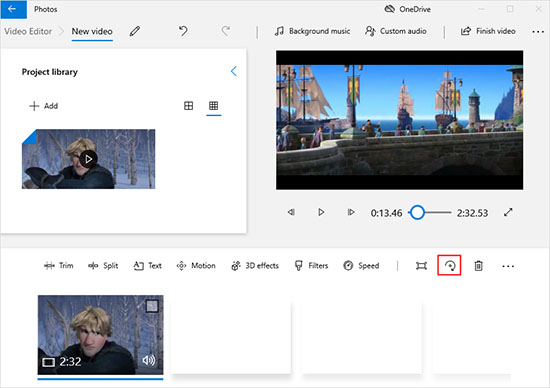
- Step 2: Then, choose "New video" > "New video project" > "Add" to import YouTube video;
- Step 3: Drag the added YouTube video to the storyboard and click "Rotate" icon.
- Step 4: Don't forget touch "Finish video" to save the rotated YouTube video.
Part 4. How to Rotate YouTube Video in iMovie on Mac - Prior to Uploading
One more solution for Mac users to rotate an upside-down YouTube video is iMovie - the free built-in video editor. There should be no Mac users who have no experience with it. Such timeline-based video editing software develops a great set of tools for video rotation, color correction, green-screen effects, subtitling, the addition of background music, and more to create a wonderful video and share it globally. Above all things, it is available free of charge. On Mac, iMovie is definitely worth a practice.
Step 1 Open iMovie and add YouTube video
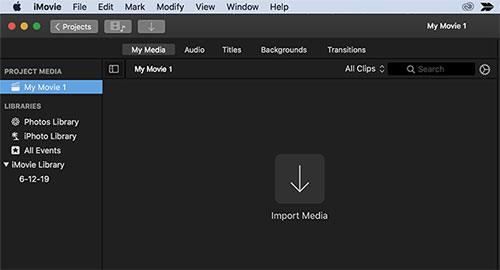
First of all, please start iMovie on your Mac. You can head to "Finder" and followed by "Applications" to locate it. Whereafter, directly drag and drop your YouTube video to its timeline.
Step 2 Start YouTube video rotation
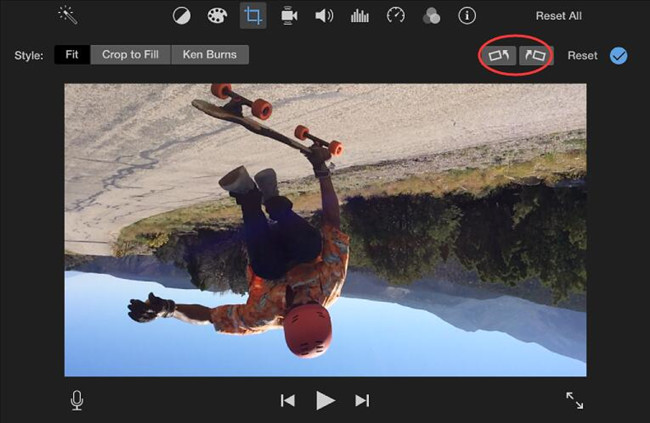
Once the YouTube video is uploaded, the editing buttons on the top right will be enabled. You are required to select the "Cropping" option and click rotation icons to rotate left or right the YouTube video.
Step 3 Share final video to local
When rotation is completed, touch "Apply" icon in the shape of a tick next to the rotation buttons to confirm the rotating settings. Next, go to "File" > "Share" > "YouTube" to directly share it to your YouTube account. To save the YouTube video to computer after rotating, please select the "File..." tab.

Part 5. Rotate YouTube Video on Clideo - Whether Uploaded or Not
Clideo is a web-based video editing service, requiring no downloads and registration. You can use it to rotate your YouTube video on any web browser. It supports uploading video files from various sources, including local system, Google Drive, Dropbox, and video link. Thus, whether you want to rotate a published YouTube video or a downloaded YouTube video, it has the ability to make your thought become reality at easy steps. Attention to be paid is that Clideo will officially watermark any final video work.
Step 1 Upload YouTube video to Clideo
Go to the official website of Clideo Rotate Video by the link of https://clideo.com/rotate-video. Then, upload video file. For uploaded YouTube video, click the down-facing arrow and type the YouTube video link in the "Paste a URL" field. For the downloaded one, tap on "Choose file".
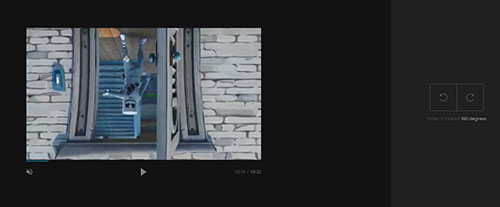
Step 2 Rotate YouTube video online
Wait until the uploading process is completed. On the right side of the next screen, you will see two rotation buttons. The left one is to rotate video 90°, 180°, 270° counterclockwise while the right one is for clockwise rotation. Use them to rotate your YouTube video as you need.
Step 3 Export rotated YouTube video
After that, please specify an output format from the "Format" option at the bottom left corner. Next, touch "Rotate". After several minutes, your rotated YouTube will be exported and ready to download. You need to tap on "Download" button to save it.
Conclusion:
Quite frankly, all the above solutions to rotate YouTube video in this article are worth putting into practice. To rotate in a free way, you can use YouTube Creator Studio Classic, Windows Movie Maker, iMovie and Clideo. But for relatively easier and watermark-free rotation, it is better to apply Joyoshare Media Cutter. All guides above are shown to help with clear steps. You just have to follow.
