In case your videos that you upload to YouTube, Facebook, Twitter, and other social platforms are re-upload by others without your permission, you are suggested to add a watermark to the video. Here will show you how to add watermark to video in iMovie. Then you can protect your video from plagiarizing. Also, another easy yet powerful tool to watermark your video will be introduced.
- Part 1. Watermark Video Using iMovie
- Part 2. Watermark Video Using Joyoshare Media Cutter
- Part 3. Why Do You Need to Add Watermark to Video
Part 1. How to Add Watermark to Video in iMovie
iMovie is a video editing software, created by Apple Inc. It can be run on Mac and iOS devices. It has been free for all Apple users since April 18, 2017. With this program, you can watermark your videos with ease. Beyond that, it also can help you to add other video effects to the video, like reset video color, crop and rotate video, add video transitions, and so on. The following guide will instruct you on how to embed watermark to the video using Mac version iMovie.
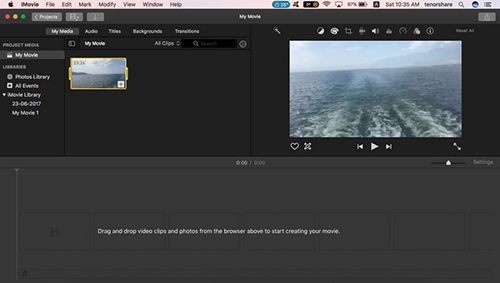
Step 1Run iMovie
Install and run iMovie on your Mac computer. Then open a project. If you need to create a new project, you can click the "New project" and select a video clip. Drag and drop the video to the timeline. You can trim or add other effects to the video if it is necessary.
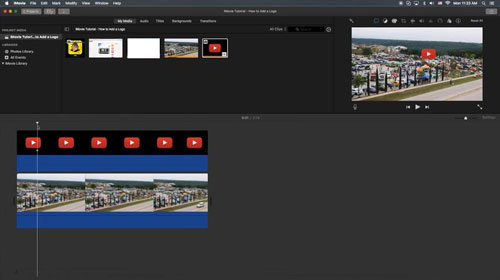
Step 2Add watermark to the video
Once the video has been edited, you can add a watermark to it. Regarding the watermark, it can be an image or text. You can design your own image watermark on other programs. Then export it in PNG format. Thus you can add it to your video without distracting the video. Open the file or directly drag the watermark to iMovie. Then adjust its position and size. Finally, you can export the video with a watermark.
Part 2. How to Add Watermark with Joyoshare Media Cutter
Obviously, it's easy to watermark a video in iMovie. However, iMovie is only compatible with Mac and iOS devices. Under this circumstance, it seems essential to look for an alternative to iMovie if your computer is Windows. Joyoshare Media Cutter is a superior option for you. It can be run on Mac and Windows platforms. It is good at cutting, cropping, rotating, trimming, merging, and editing. Therefore, you can use it to add a watermark to a video without troubles.
Additionally, this excellent tool comes with a preview window to show all visual effects in real-time. You can use this program to convert video to MP4, M4V, AVI, MPG, MPEG, 3GP, 3G2, WTV, OGV, WMV, ASF, RM, RMVB, DV, DAT, MOV, FLV, MKV, etc. This innovative video editor also enables you to insert subtitles, make special ringtones, add background music, apply sound effects, etc.
Key Features of Joyoshare Media Cutter:
Add watermark to video in a flexible way
Support to convert a video at 60X fast speed
With auto-play function and preview window
Can customize video parameters
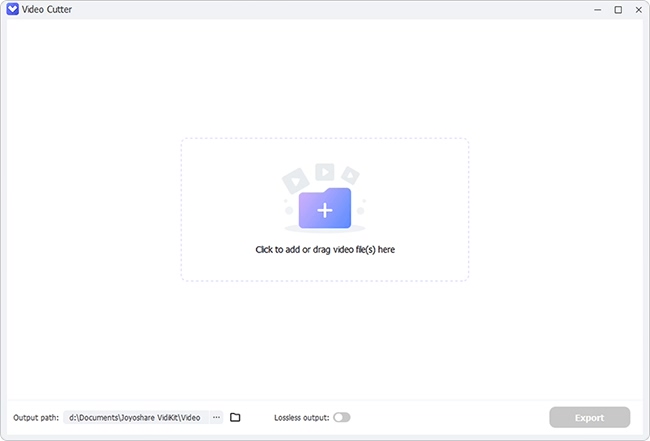
Step 1Launch the program and add video
Run Joyoshare Media Cutter. Import the video to the main interface by clicking the "Open" button to select one from the local folder. Or you can directly drag the video to this program.
Note: Each time only one video file can be added since Joyoshare Media Cutter is not available for edit video in batch.
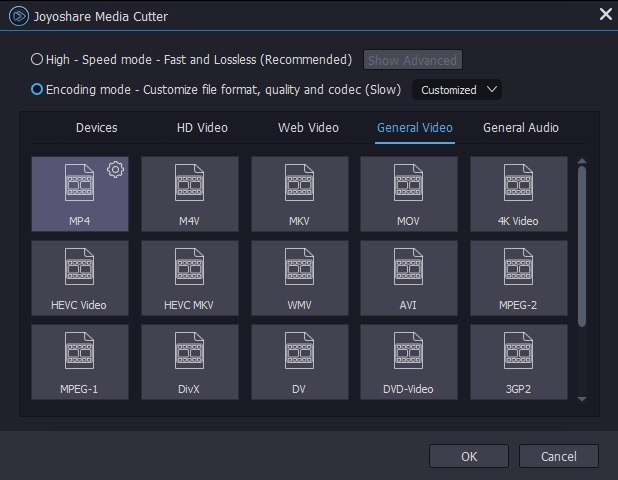
Step 2Choose output format
If you do not need to trim the video at the main interface, just press the "Format" button to select an output mode and format. Tick the "Encoding mode" and choose a video format that you prefer from the "Devices", "Web Video", "General Video", and "HD Video". This video editor allows you to customize code, bit rate, frame rate, and resolution by clicking the small gear icon on the to-right of the format.
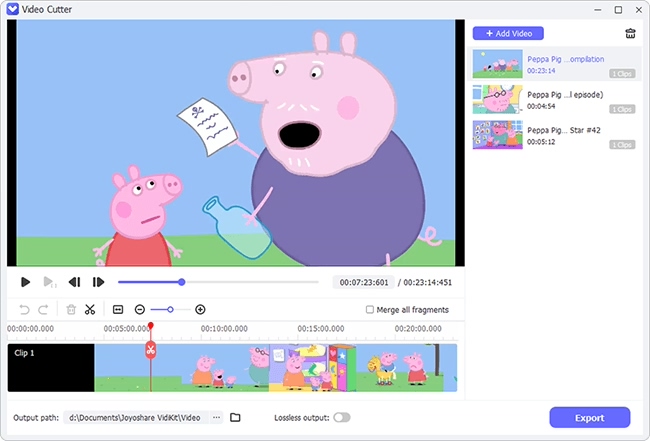
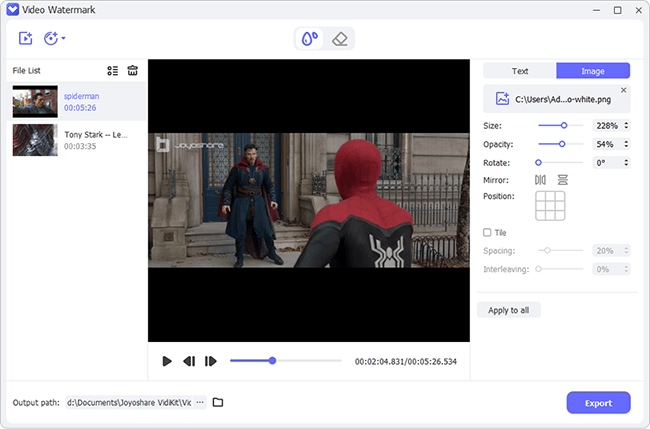
Step 3Begin to add watermark
Lightly click the "Show segment list" icon to display your video clip. Then hit on the edit button. Then you can press the "Watermark" tab from the top menu bar in the pop-up window. You can choose to inset an image to be a watermark or type on the video directly. It enables you to change the color of the text, position, and transparency of the watermark.
Step 4Export the video with watermark
After adding and adjusting the watermark, you can preview the video. Then click "Ok" to go back to the main interface. Tap on the "Strat" button to start exporting the video.
Part 3. The Benefits to Watermark Your Video
There are two main benefits for you to add watermark to your own video.
Protect your copyright
Adding a watermark to a video that creates by yourself is helpful to prevent reposting your video for commercial use without your authorization. It is an annoying thing if your video is plagiarized. Then plagiarizer earing money or reputation without any efforts. If you do not embed a watermark to the video, it may be troublesome to maintain your copyright.
Promotion
This is good for you to promote your video. Suppose that you are a YouTube. The video you make is shared by others on different social media. Then the people who like this video can find and follow you on YouTube according to the watermark on the video. Thus, you will obtain more followers.