Figure out how to record yourself on a Mac? Indeed, this is a high demand and adding yourself to the video will undoubtedly make for a more intuitive viewing experience, whether it's for business use to make the product introduction more formal, for personal use to let the moment more memorable. It helps to capture a tutorial, make an online course, create video diaries, etc. Fortunately, your Mac operating system offers several built-in options for recording yourself with ease, and additionally you have the chance to utilize third-party more dedicated webcam recorders. In this article, we'll explore step-by-step instructions and take you into details.
- Part 1. How to Record Yourself on Mac
- Part 2. FAQs about Capturing Yourself on Mac
- Part 3. Conclusion
Part 1. How to Record Yourself on Mac
#1 Joyoshare VidiKit
Joyoshare VidiKit is a versatile toolbox that combines screen, audio, game, window, and webcam recordings together. It aims at creating unique and optimal results for you to save and share. You can use either the built-in or external camera to capture your movements and present them from the perspective you want. There is no latency during the whole recording process and the output quality of final video can be fairly high, up to 4K. This tool works excellently on Mac and Windows with minimum system requirements. It requires less storage space and processing power.
- Record yourself from camera and overlay to video
- Produce high-quality video in different formats, like 4K/1080p
- Capture screen and audio from different sound sources together
- Customize settings for webcam and support for snapshots
- No recording time limit and no watermark in output files
Step 1 Open Webcam Recorder
Launch Joyoshare VidiKit on your Mac after completing the installation. Locate at "Recorder" option and choose the "Webcam Recorder" tool.
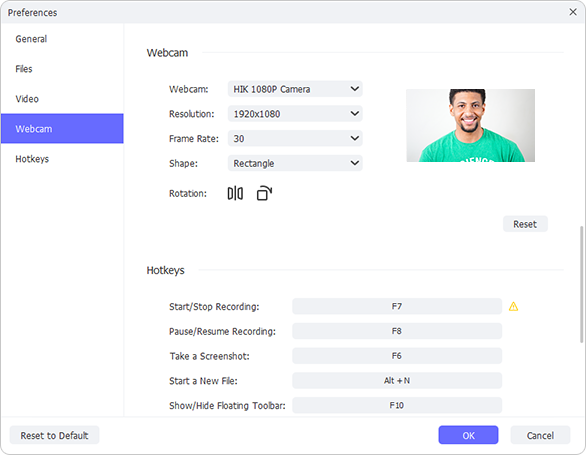
Step 2 Set Webcam Recording Options
You’ll here to choose target camera from available list, and confirm resolution. Simply customize the settings by heading to the "Preferences". Then set how your camera shapes and which direction it displays in the way you like. You can furtherly check other related recording options based on your needs.
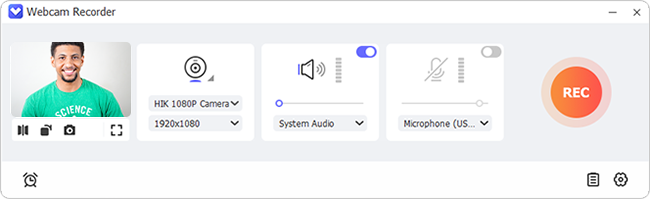
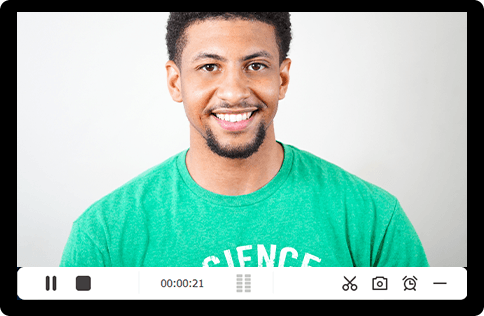
Step 3 Begin to Record Yourself on Mac
Once you put yourself well in front of the camera, you can start to click on "REC" button for initiating a recording process. After ending it with a click on the "Stop" button, you can preview it, make changes to the file name, trim it, and capture screenshots in History window.
#2 QuickTime Player
As we all know, QuickTime is a built-in multimedia tool on Mac. It includes media playing, editing and screen recording features. If you are looking for simplistic recording results, QuickTime Player can do you a favor. It helps you make a decent video (.mov format) and audio (.m4a format) file directly from internal microphone and camera, or from connected external devices. The straightforward interface and basic operation of QuickTime Player make itself user-friendly.
- Step 1: Open the pre-installed QuickTime Player on your Mac and head to File → New Movie Recording.
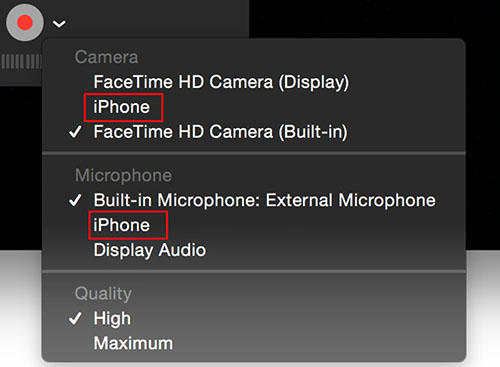
- Step 2: Soon after that, a recording window will show on the desktop. You can here hit the drop-down menu next to red recording button. Simply choose your wanted camera and microphone sources. Set quality if you need.
- Step 3: When you're ready to being captured into your screen video, click on the red recording button.
- Step 4: Use Stop button to finish recording and go for File → Save to store your recorded file on local Mac computer.
#3 Photo Booth
Photo Booth is an application Apple distributes for its Mac computer. With its assistance, you can record videos and take photos using the in-built iSight camera or any external camera connected to computer. What’s better, it provides a wide range of built-in effects that you can apply for a lasting and enhanced video output, making it a funny way to produce unique videos or clips.
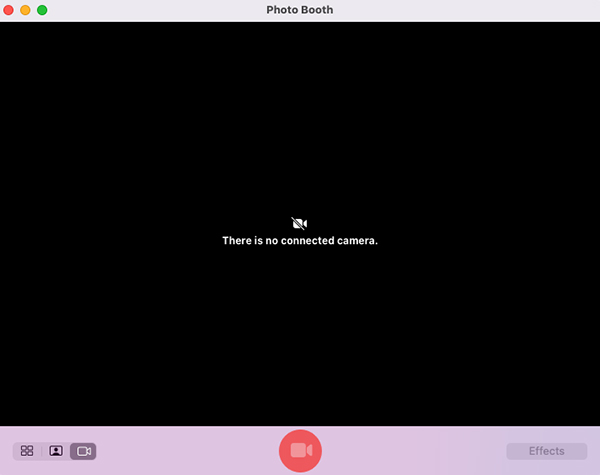
- Step 1: Launch the Photo Booth using the Spotlight or the Applications folder from Finder.
- Step 2: When the application launches, you will see a preview of what the Mac's webcam captures. Change to video mode by clicking the camera-shaped icon until you can see Record Video. If it doesn't show, you can check the bottom left and click "Record a movie clip" button.
- Step 3: Quickly click on Record Video button to start recording yourself on Mac.
#4 RecordCast
How to record a video of yourself on Mac without installing software? RecordCast is right here. This tool is an online application that allows you to record anywhere using a Mac's webcam online in a few clicks. Furthermore, you can choose from three different recording modes as needed. You can also use the built-in editor to finalize the video upon completion. However, it only allows maximum 5-minute recording time.
- Step 1: Open the web browser and head to RecordCast.
- Step 2: Allow the tool to use your webcam and audio for recording.
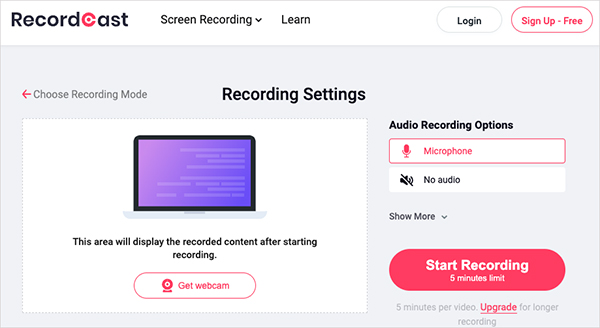
- Step 3: Choose the recording mode, like “Webcam”, and customize Audio Recording Options and Equipment Options.
- Step 4: Take yourself into the video by clicking “Start Recording” and it will save video into WEBM file once you stop recording and download it.
Part 2. FAQs about Recording Yourself on Mac
Q1. What can I use to record myself on Mac?
A: For simple videos, you can use built-in tools such as QuickTime Player and Photo Booth. However, if you need editing, the addition of subtitles, watermarks, and more, Joyoshare VidiKit is the answer.
Q2. How do I record myself with audio on my Mac?
A: The recording software usually captures audio during recording process as default. To record yourself with audio on your Mac computer, you can enable related audio settings and designate specific sound source to capture audio from.
Q3. Does Mac have a built-in recorder?
A: Yes, Mac comes with pre-installed recording software. Aside from the mentioned QuickTime Player and Photo Booth, you can also use keyboard shortcuts to make screen recording on Mac. To do this, simply press Shift + Command + 5.
Q4. Do all Macs have a built-in camera?
A: Luckily, nearly all Macs have built-in cameras. Only Mac Pro and Mac Mini come with no cameras. Usually, Mac will commonly use built-in FaceTime app as camera. You can also connect your iPhone, iPad or iPod touch to Mac computer and then use it as camera.
Part 3. Conclusion
Now that you have learned how to record yourself on a Mac using different methods, it is time to create wonderful videos as per your requirements. Built-in tools such as QuickTime Player and Photo Booth can definitely give you a quick solution. Sure, you can simply consider applying third-party software, for instance, Joyoshare VidiKit, if you pursue more advanced features to generate professional-quality videos.
