Q:"I am trying to record audio and/or video directly to a removable USB flash drive and is wondering if it is possible." - From All About Circuits
Because of its great portability, USB flash drive has become the first choice for most users to store video, audio, documents and other types of files as a removable multimedia device. Among all, there is a high demand to record video to USB flash drive for effective saving. Actually, you can get different approaches after searching and asking in the Internet. In case some of you don't know which way to use to accomplish this task, we prepare this article here.
- Part 1. Record a Video to Flash Drive
- Part 2. Alternative Solution to Record Videos to USB Flash Drive
#1 How to Record Video to USB Flash Drive
Tips 1 Copy and Paste a Vide to USB Flash Drive
Insert the USB flash drive in your Windows or Mac. When your computer detects and recognizes it, click on this external device icon to bring up its corresponding file window. Then open a local folder with your specific video on computer, select and copy it to your USB flash drive. Or quickly drag it to save on your flash drive.
Tips 2 Record a Video and Save to USB Drive
If you use a camera to record a video, you are able to easily save it to your USB flash drive as long as your camera can support, usually with a format in AVCHD. To do that, you need to plug your USB drive into the USB port of a camera. After the recognition, enter to the camera's menu to set saving video to flash drive. Therefore, every time when you record a video, it'll be stored to the USB flash drive.
Tips 3 Export a Recorded Video to USB Flash Drive
For those who have recorded videos and saved on camera, it's practical to connect camera to computer to furtherly edit. Use any video editor on your desktop to import file from digital video camera, post-process the video recording, and export or save to your inserted USB flash drive.
#2 Alternative Way: Record Video Directly to USB Stick
Joyoshare Video Recorder is an excellent video recorder that requires no skill to operate. Any user is able to independently record types of videos, like games, online meetings, webinars, streaming movies, browser activities, etc. There is no recording time limit and compulsory watermark. You can even capture the sound from the microphone or the system itself. Also, its high compatibility makes it possible to save recording as any format you like in a local folder or USB flash drive.
- Record video to a preset USB flash drive or local folder
- Record video on Windows 10 and Mac
- Support many formats, like MP4, MP3, AVI, FLV, MKV, MOV, M4V, etc.
- Configure resolution, sample rate, frame rate, bit rate, codec, etc.
- Trim, edit ID3 tag, add watermark and highlight cursor
- Guarantee high quality output and no recording time limitation
Step 1 Run downloaded video recorder and set output location
Insert the USB flash drive to compatible port, get the latest version of Joyoshare Video Recorder and install it on your computer. Simply launch it, go to the menu button in the upper right corner and find "Convert" under "Preferences". Now you can click on "Location of Output Files" > "Change" button to set a new location in the detected USB flash drive. It helps directly save a recorded video to there.

Step 2 Choose mode, enable audio and confirm options
Return to the main interface of this program and designate "Record video and audio" mode next to the red "REC" button. Then you can click to turn on System Audio and Microphone Sound based on actual requirements. Go further to press on the gear "Options" button to decide an output format, set shortcuts, show cursor, customize watermark, etc.

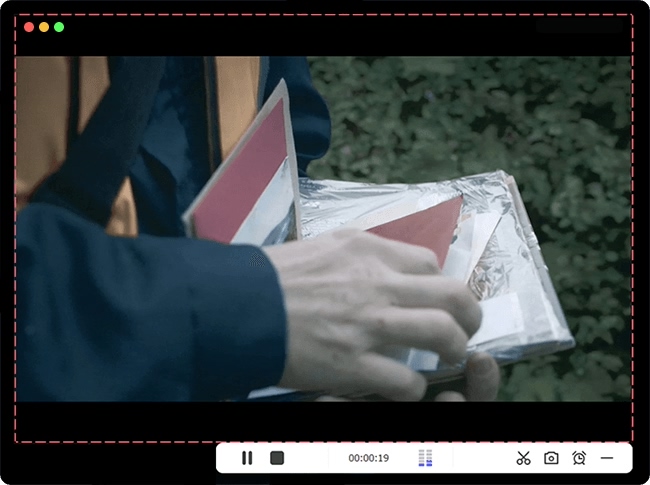
Step 3 Record a video on desktop screen
Prepare what you'd like to record in advance and head to "Capture Area" to choose a recording region. Next, click on the red REC button to start recording. There are different buttons offered in the toolbar, with which you're allowed to cut video to small segments and skip unwanted footages.
Step 4 Output and save video to USB flash drive
Just press on the "Stop" button to end the recording task once you get the desired content. Soon after, a History window will pop up to display the recorded videos. It's convenient to preview in the right visualized window. You can now click "Open file location" option to straightly navigate to your USB flash drive's folder.

Conclusion:
As you can see, there are many ways to record video to USB flash drive. If you already have a recorded video, all you have to do is to copy and paste it into your flash drive, or connect the camera to the computer, edit and output to a USB disk. For compatible cameras, you can also record directly and save to pre-inserted USB flash drive. Or use computer to record for quick save.
