Some activities are available to engage in online at first, like class teaching, business meeting, job interview, etc. Unexpectedly, class teaching, being transferred to an online platform, releases the gushing vitality as a duck to the water. A lady once complained to me that she cannot afford the time to learn something new. As a single mom and an office lady, she has to pick up her child from school and cook dinner. After all this, it may be eight o'clock, and generally, most training courses begin at 7 PM. I told her that online courses supported by video conferencing software might suit her. She can take the class on her laptop without commuting time. Moreover, even if she's busy during class time, it would be possible for her to roll back what had already been taught by recording the online course. So how to record the online class? This article will introduce three methods to you.

- Part 1. Why You Should Record Online Classes
- Part 2. Compare Online Desktop Screen Recorder in Table
- Part 3. How to Record Online Classes in Laptop
- Part 4. The Final Word
Part 1. Why You Should Record Online Classes
Imagine that you have to ask for a leave-in an important class, and what will you do? You can only regrettably miss it and take remedial actions like borrowing notes from classmates. Well, that precious and vivid course has elapsed with the irretraceable time. However, taking online courses can get everything done on account of its time-going-backwards magic like Doctor Strange as long as you use the screen recording function to capture your screen in advance. You are able to enjoy those recorded videos after you have finished other busy issues.
Part 2. Online Courses vs Traditional Courses
| Category | Traditional Courses | Online Courses |
| Place | Be at classroom | Learning takes place anywhere |
| Time Limit | Have no chance for being twice taught | Available to replay |
| Time for Class | Fixed time | Fixed time but able to watch later |
| Number of Students | Limited number of students | Being limited or unlimited |
Part 3. How to Record Online Classes in Your Laptop
# Record Online Classes by Video Conferencing Software
The software for people to join in online video courses is generally carried with the recording function, such as Amazon Chime Meeting, Zoom, or Livestorm. It's suitable for students who simply want to replay past courses. While for teachers, perhaps it's not enough. They may need to do video processing. Then more powerful software is needed.

# Record Online Classes with Joyoshare VidiKit
As the best screen recorder for online classes, Joyoshare VidiKit is a professional software focusing on video and audio processing. It's not restricted to the simple ability to cut or record media files. You can also use it to convert format, remove the watermark, join videos and so on. What else can't it do? With this, you can record meetings as a conference participant and watch them later, or even edit it before sending them to others within one software. Here come details on how to record online video classes.

- No watermark on your final video
- Customize your recording area
- Edit your video with powerful functions after recording
- Support a plethora of output formats
- Record WeChat video call, Vimeo video, meetings and more
Step 1. Install and Register Joyoshare VidiKit
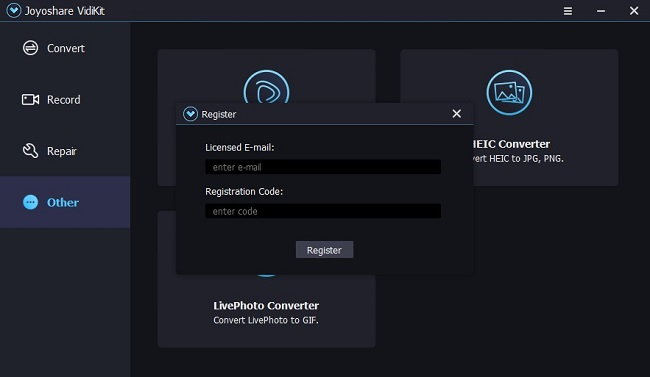
Click the box above to download Joyoshare VidiKit. Once it has been installed in your computer, you are capable of launching it. In the top right corner, there is a Menu button. Go to Menu and select "register" to input your licensed e-mail and registration code for logging in.
Step 2. Find "Screen Recorder" on the Interface and Launch It
Go to "Record" in the menu on the left and press "Screen Recorder". Then it will pop up a window like this.

Step 3. Set Recording Preferences
Locate a gear icon at the bottom right and this window expands. It will show you three lists of options -- basic record options for selecting which file to save to or the outputting format; record time options, as the name indicates, for setting up the recording time; cursor options for deciding whether you want to show or highlight cursor.

Step 4. Select the Recording Range
There is a dotted box in the Capture Area and an Add button attached at one corner of it. Click that Add button and you can delimit the recording area on your screen. The box behind "W" and "H" are designed to input a specific number of widths and heights as you like.

Step 5. Begin to Record Meetings
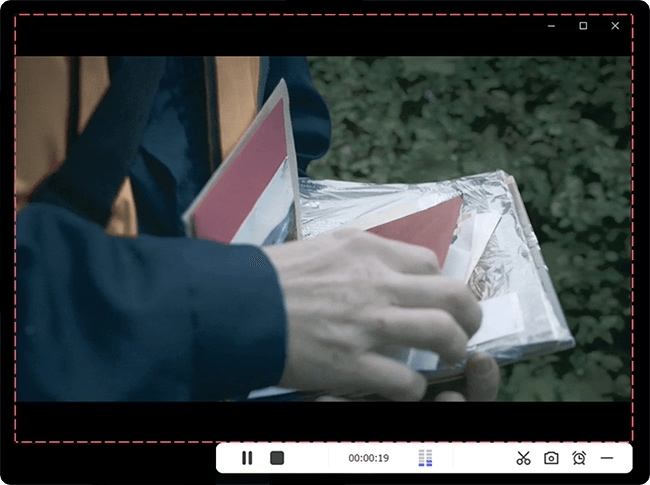
Join conferencing room and start recording the whole course. You can click the scissor icon to get screenshots at anytime you’d like to.
Step 6. Check the Resulting Video Files and Preview Them
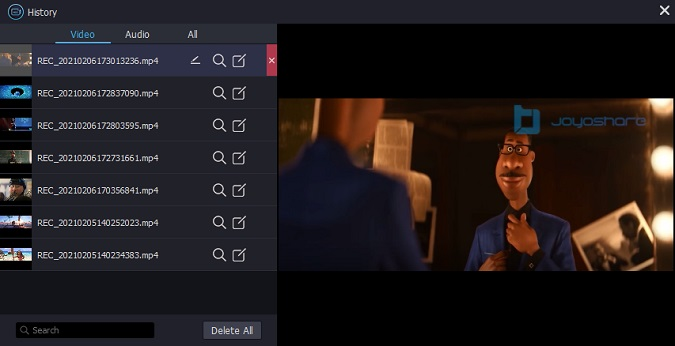
Once your class ends and you have finished recording, a History window would pop out. It’s possible to change the name of this file by simply clicking the icon which looks like a pen behind the name of the video and you can also make subsequent editing. And you are able to check the videos of online courses you have recorded just now.
# Record Online Classes through QuickTime
Step 1: Launch QuickTime Player
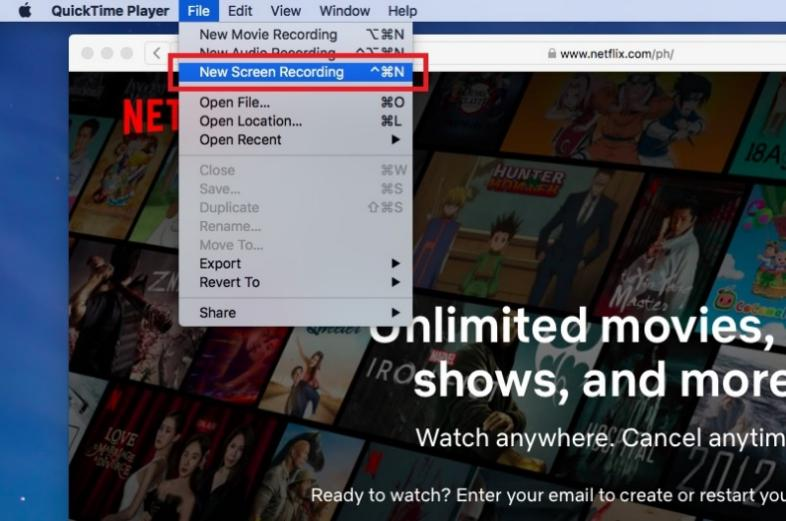
launch QuickTime. Then there is a "File" option in the menu bar of QuickTime. Click it and go to "New Screen Recording".
Step 2: Start Recording Video
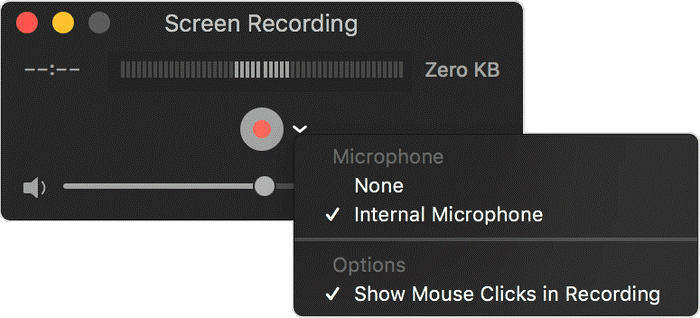
Press the drop-down button next to the red circle on the center of this window. It provides the preferences to select. Click the red circle in the center and the recording begins.
Step 3: Save the Records
Tap on the stop recording icon in the top menu bar and save it to the files on your computer by clicking "File" and go to "Save".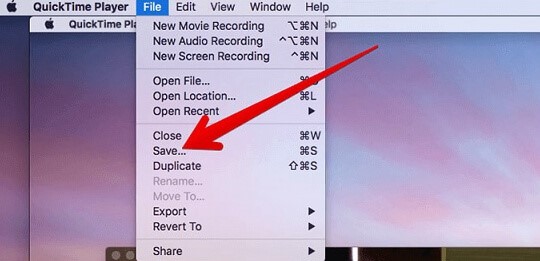
Part 4. Conclusion
These products are of varying quality. And they carry respective pros and cons. For online screen recorder, it's convenient and flexible. Other customers may be inclined to choose desktop screen recording software because they have built-up functions, a stable operation process and a safe storage environment. Even then, someone says that it's better to use both of them to mutually complement for meeting different needs at any moment. Our suggestion goes to Joyoshare VidiKit which is the best screen recorder. Come and try it! You will not regret choosing this one.
