
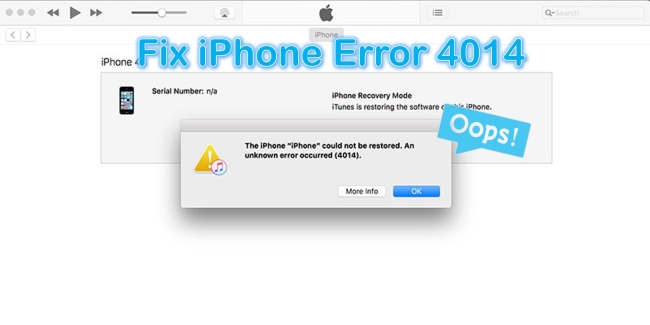
When the latest iOS version is launched, most people choose to upgrade or restore their iPhones. Occasionally, some problems appear. For example, you may find a window to pop up, showing "The iPhone could not be restored. An unknown error occurred (4014)", which means your iPhone doesn't succeed to be upgraded. In the next content, I will explain the reasons for the error and provide you with 12 different methods to fix "Error 4014 iPhone".
- Part 1. Why Did iPhone Error 4014 Occur?
- Part 2. Workable Solutions to Repair iPhone Error 4014 on iPhone 6/7/8/11/12/13
- Way 1. Check Your USB Cable/Port
- Way 2. Check out Wi-Fi Network
- Way 3. Download the Latest iTunes Version
- Way 4. Clean up Your Device
- Way 5. Restart Your iPhone and Computer
- Way 6. Try Another USB Cable/Port
- Way 7. Try the Best-in-Class Tool – Joyoshare UltFix [Zero-Loss 100%]
- Way 8. Use Another Computer
- Way 9. Factory Reset Your iPhone
- Way 10. Put iPhone into Recovery Mode
- Way 11. Entering DFU Mode
- Way 12. Contact Apple
- Part 3. Conclusion
Part 1. Why Did iPhone Error 4014 Occur?
Why does your iPhone go wrong when you try to restore it? Under this condition, it usually matters to the iOS system itself, some external conditions, and the hardware (the USB cable and the computer, and the iPhone itself). There are some reasons as follows:

Part 2. Workable Solutions to Repair iPhone Error 4014 on iPhone 6/7/8/11/12/13
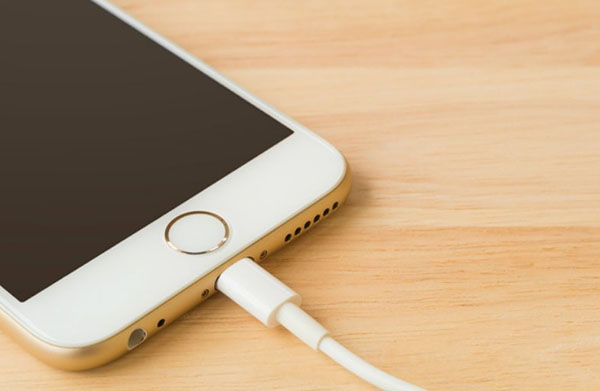
Way 1. Check Your USB Cable/Port
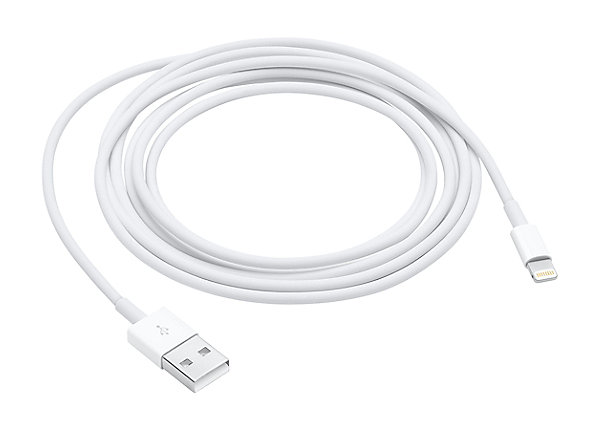
Sometimes the updating problems are related to the hardware. If the cable cannot work well, then the connection between the computer and the device doesn't exist. Pay attention to the port. Maybe the cable is just loose.
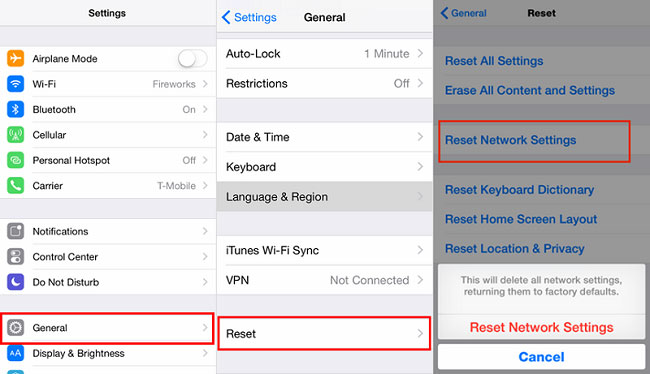
Way 2. Check out Wi-Fi Network
Poor Wi-Fi network can affect the process to upgrade and even directly interrupt it. We should take this condition into account. If you cannot make sure whether the Wi-Fi network goes wrong, you can choose Reset Network Settings.
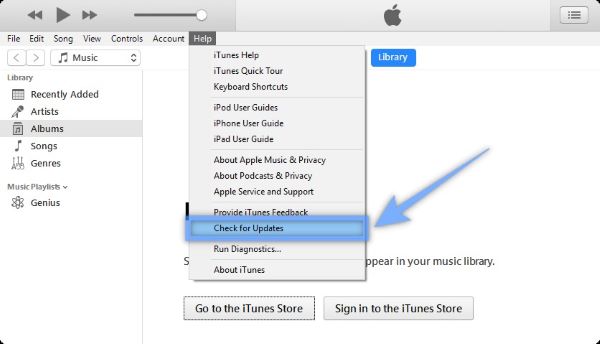
Way 3. Download the Latest iTunes Version
Your device is going to update the latest iOS system, so you should first promise the latest iTunes. Or the previous version might have some issues related to the compatibility.
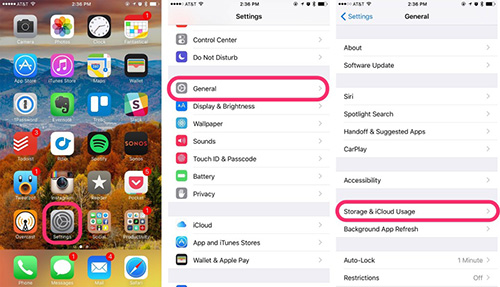
Way 4. Clean up Your Device
As is known to us all, the storage is too full to cause the devices to react slowly. The new version is more advanced, and we should guarantee enough capacity.
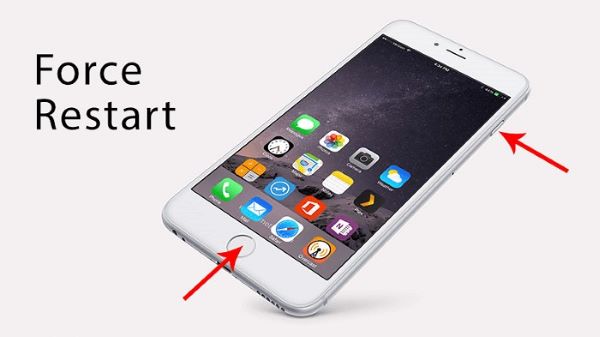
Way 5. Restart Your iPhone and Computer
I believe that many people will choose to reboot their devices no matter what issues occur. As a result, restarting can solve most normal scenarios.
Way 6. Try Another USB Cable/Port
If you ensure the hardware has been connected correctly and you still have faulty updating, you should consider changing another USB cable.
Way 7. Try the Best-in-Class Tool – Joyoshare UltFix [Data Security]
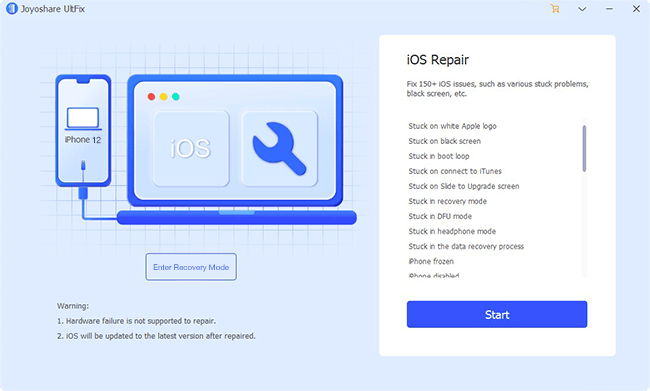
Joyoshare UltFix is a professional iOS system repair tool to fix over 150+ iOS & tvOS issues, such as various stuck problems, black screen, iPhone could not be restored error (including iTunes error 4013, 4005, or 4014), etc. It has 2 repair modes (Standard Mode & Advanced Mode). The former can repair most system issues without data loss. The latter can remove the screen lock without a passcode. It supports iPhone, iPad, iPod touch, and Apple TV and is compatible with the latest iOS 15.
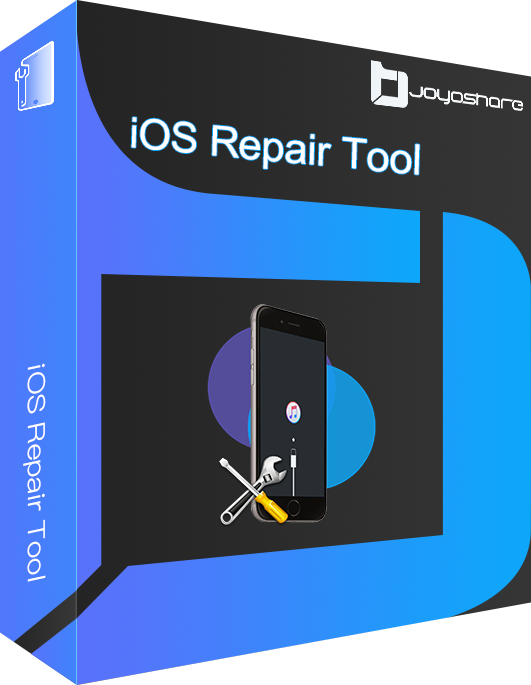
- Be compatible with the latest iOS 15 and many iOS devices (iPhone/iPad/iPod touch/Apple TV)
- Free Enter /Exit Recovery Mode
- Offer Standard Mode and Advanced Mode to fix iOS issues
- Fix over 150+ iOS issues in professional ways
Joyoshare UltFix has Enter/Exit Recover Mode. You just need to click twice to finish Recovery Mode, so you can avoid the complicated operations, let's go with it without any hesitation:
-
Step 1Run Joyoshare Ultfix and Connect iPhone
Run Joyoshare UltFix and connect the iOS device, you should make sure that the connection is complete. Or click Enter Recovery Mode, then directly click Start.
-
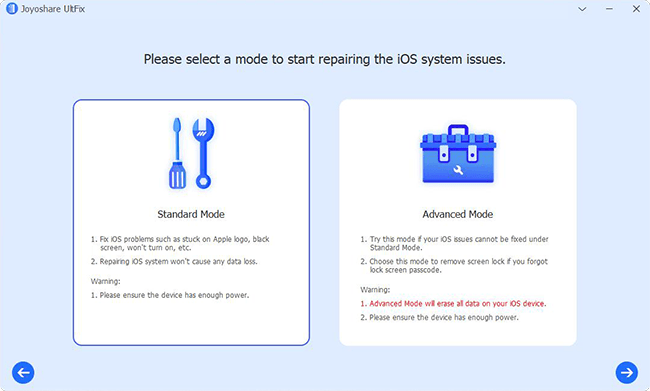
Step 2Choose Repair Mode
Choose the repair mode. You have two options, Standard Mode can fix most system issues, including iPhone error 4014. If you need to remove your screen code or factory reset, Advanced Mode is nice.
-
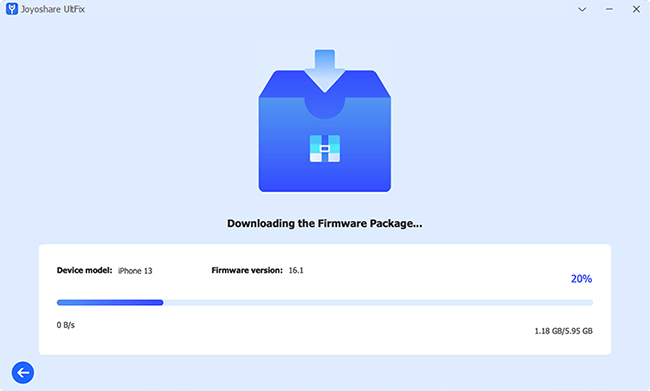
Step 3Download and Verify Firmware Package
Download and verify the firmware package. In this step, you could also choose to downgrade your iOS version.
-
Step 4Repair iTunes Error 4014
Click the Repair button. And the recovery process is done. Next, you can try to update your latest system on your iPhone.

Way 8. Use Another Computer
The upgrading process involves the USB cable, your iPhone, and your computer. Therefore, if you have changed another USB cable but there are still problems, you can try another computer.

Way 9. Factory Reset Your iPhone [Data Insecurity]
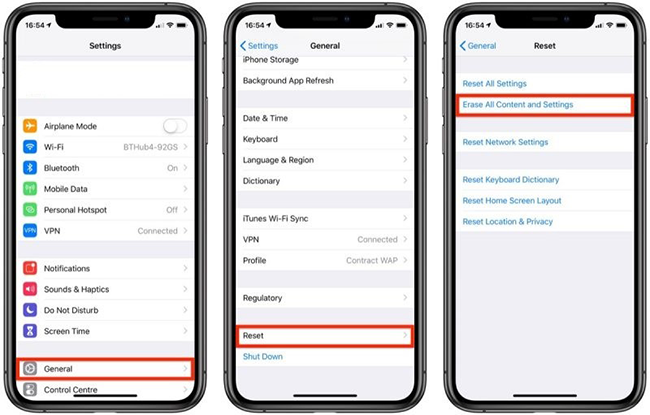
If you choose this method, you will be at risk of losing iPhone data, so make sure you back up your valuable data to iCloud or iTunes first. Here's what you should do then:
Step 1: Tap on Settings → General → Reset → Tap on Erase All Content and Settings orderly.
Step 2: Now, enter your passcode and click on Erase iPhone to confirm.
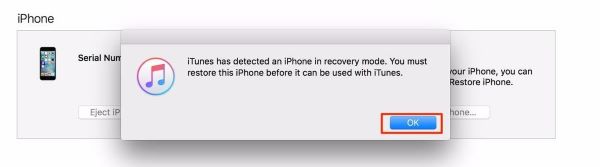
Way 10. Put iPhone into Recovery Mode [Data Insecurity]
In most cases, Recovery Mode can repair errors. Before taking this method, you should ensure your iTunes is the latest version.
First, put your iPhone in Recovery Mode. Close iTunes, connect the iOS device to the computer, open iTunes, and force restart it into the mode. Taking the iPhone 5s as an example, press the Home and the top key together until entering the Recovery Mode. Second, connect to iTunes in Recovery Mode and begin recovery.
Note: When you see the choice to update or restore, click Update (not Restore) to install iOS again and retain your individual data.
Way 11. Entering DFU Moder [Data Insecurity]
When none of the previous methods are working, place your iPhone or iPad in DFU Mode. Data on the device will be erased if you restore it to a new state. Including photos, videos, music, settings, etc. Remember to backup your iPhone before applying this method, just as you did for the previous method.
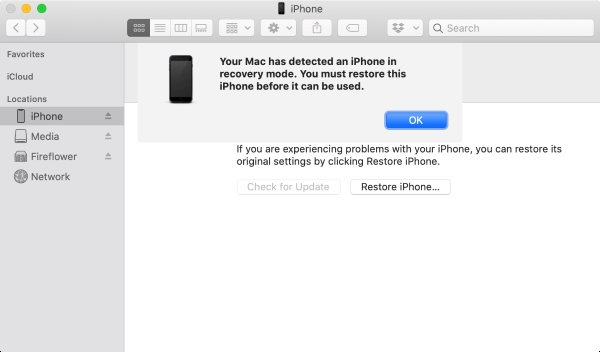
It depends on your operating system whether you're using the latest version of macOS, an older version, or a Windows PC to activate Recovery Mode.
Step 1: Plug your iPhone into your Mac or PC with a USB cable.
Step 2: Open a Finder window if you're running macOS Catalina or later. Launch iTunes if you're using Mojave or older macOS or Windows.
Step 3: Activating Recovery Mode requires pressing and holding buttons on your iPhone.
For an iPhone 8 or newer, press and quickly release the Volume Up button, and then the Volume Down button. Then press and hold the Lock button until you see the Recovery Mode screen.
For an iPhone 7 or 7 Plus, keep holding the Lock and Volume Down buttons until the Recovery Mode screen appears.
On an iPhone 6s or earlier, press and hold the Lock and Home buttons until the Recovery Mode screen flashes.
Step 4: The iPhone icon can be found near the top-left corner of iTunes, click on it; or in Finder by clicking on the phone in the left sidebar.
Step 5: An option for updating or restoring your iPhone will appear. Click on Restore.
Way 12. Contact Apple
If you have tried every method as recommended and failed to restore your device, the last way you should use is to contact Apple. Because it sounds like not system issues, but the iPhone itself and you should send it for repair.
Part 3. Conclusion
Every device has different conditions. Maybe some try the first solution and solve their problems. But others take several times. Hopefully, you won't need to use the last three methods, or you'll risk losing your data. but fortunately, Joyoshare UltFix iOS System Recovery can make up for the shortcomings of these methods. It has a clean interface, is easy to use, and will not result in losing any of your data. If the above methods failed to fix iPhone error 4014, and your iPhone is still malfunctioning, then you are probably out of options at home. We recommend contacting Apple directly for further assistance.
