Q:"How can I manually adjust the color of a video in iMovie color correction on my Mac?" - from Quora
There might be a time when you would like to adjust brightness to brighten a dark video or change temperature to give your video a warmer or cooler feeling. For the task, you decide to make it completed using the built-in video editor - iMovie on your Mac. However, you are messed up by the adjustment of video color in iMovie's color correction tool while performing. Here, you can easily free yourself from the suffering, as this richly-illustrated tutorial introduces how to use color correction in iMovie to change video color at every step. Additionally, it suggests a high-compatibility alternative to correct video color on Mac.
- Part 1: How to Color Correct Video in iMovie
- Part 2: How to Color Correct Video in iMovie Substitute
Part 1. Adjust Video Color in iMovie Color Correction on Mac
Are you ready to adjust the color of video to make it more color coordination by means of the iMovie color correction tool on your Mac? Here are the steps. Put iMovie on standby and get your video ready, then perform as follows to have the video color correction done.
Step 1 Import video file to iMovie

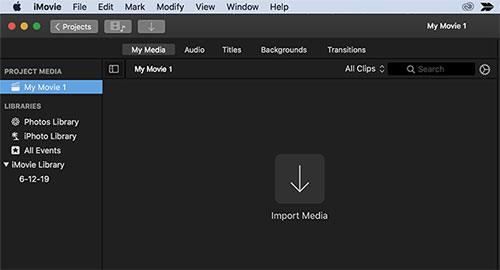
To begin with, open iMovie on your Mac. If this is the first work with it, you need to choose "Create New" > "Projects" to produce a new project for video importing. Next, upload the video that you want to adjust the color by the click of "Import Media".
Step 2 Use color correction in iMovie

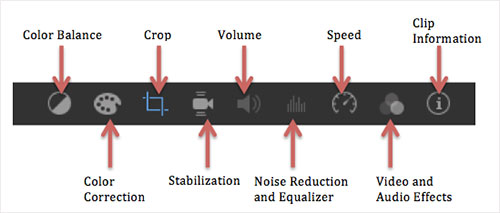
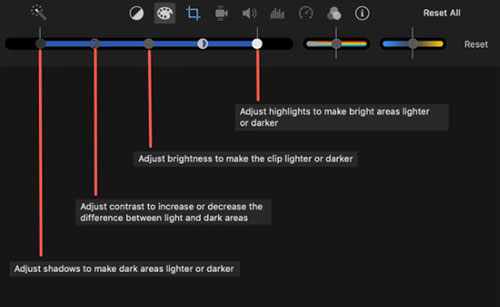
When your video has been uploaded, simply drag it to the timeline. From the top toolbar, select the "Color Correction" tool wit the shape of color palette as shown above. After the click, there will appear a blue slider and two colorful sliders. The 4 buttons on the blue slider represents "Adjust shadows", "Adjust contrast", "Adjust brightness", and "Adjust highlights", left to right. Colorful slider lying in the middle is to adjust saturation and the rightmost one means to adjust temperature. Move the control to make color adjustments on your video based on requirements.


Step 3 Save adjustments and output video
After that, click on "Apply" icon
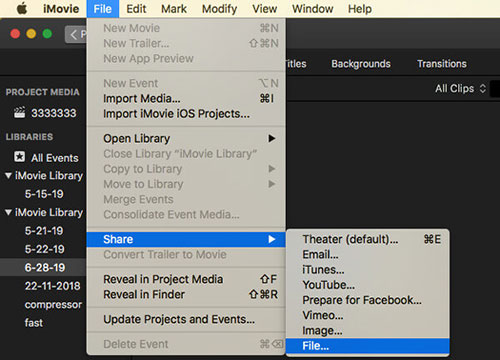
 next to the "Reset" button to save the color adjustments. Finally, head to "File" > "Share" > "File..." to save the resulting video to your Mac system.
Part 2. Correct Video Color in iMovie Alternative - Joyoshare Media Cutter
As a freeware, iMovie is useful enough in adjusting video color. However, due to the limited compatibility, it won't work with certain video files, such as MKV, WMV, AVI, WebM, FLV, MTS, etc. To remedy the imcompatible format issue, the alternative for video color adjustment - Joyoshare Media Cutter is suggested here.
Holding true for both Windows and Mac, it accepts well a wide array of video formats and audio types. Whatever format of the video you import is, mainstreaming formats or HD videos, Joyoshare Media Cutter gives you the ability to adjust brightness, contrast, saturation, and hue as you please to realize the color correction. Besides its professional editing functions, it also serves cutting purpose. Using it, you are able to cut and split any video and audio losslessly and precisely.
Key Features of Joyoshare Media Cutter:
- Easily adjust video brightness, contrast, saturation, etc.
- Specify video codec, frame rate, resolution, bit rate, etc.
- Highly compatible with MOV, WMV, AVI, MPG, TS, FLV, etc.
- Cut and trim audio and video file frame by frame in original quality
- Crop, rotate, add effects, watermark, subtitle, etc. besides color adjustment
Step 1 Open program and upload video
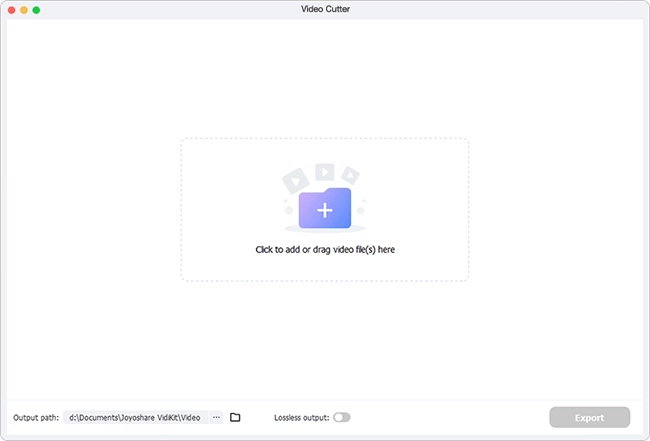
Having downloaded and installed Joyoshare Media Cutter on PC or Mac, you next should launch it. On its main screen, use "Open" button to do local folders browsing and select the target video to upload. Or, you manage to drag and drop the video file as read on the screen.

Step 2 Complete output format settings
Wait until Joyoshare Media Cutter successfully loads up your video. Go forward with the "Format" option. On the next window, you are going to be presented with two modes. For video color adjustment, you have to do the output format settings under the encoding mode. After the confirmation of a required output format, click the grea icon located at the top right of the selected format to custom codec, resolution, bit rate, frame rate, sample rate, and other format preferences as you need.

Step 3 Adjust video color and export
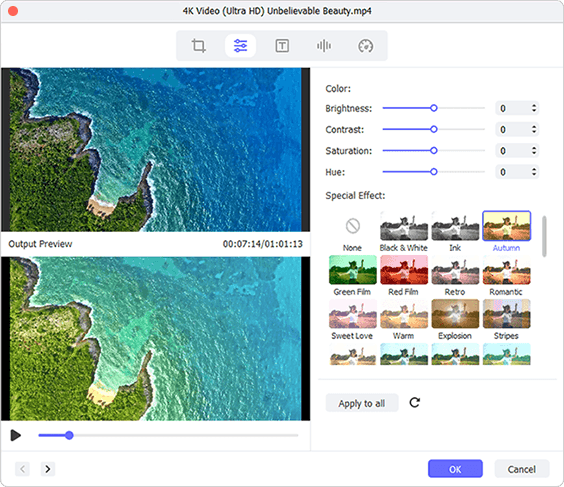
Once that is done, click "OK" to back to the previous interface. Then, go to "Edit" and choose the "Effect" tab on the editing window. The regulator of "Brightness", "Contrast", "Saturation", and "Hue" is lying at the lower left of the editing screen. According to what you demand, drag these adjustment handles left or right to change the brightness, contrast, saturation and hue to correct the video color. It is designed with manual input box next to every color controller. You are able to enter any number between 0 and 200 to adjust the color of video. You are allowed to preview the results in real time on the right window. Just keep tweaking it until you're satisfied. Whereafter, touch "Start" button on the first screen to export the final video.

