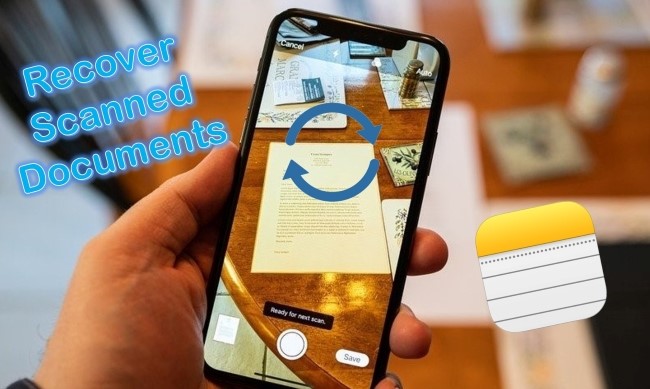
These days, few people buy standalone scanners unless they work with printed documents, photos, or photographic negatives, and most financial, medical, and legal documents are available in digital form. It's especially true if you have school-age kids and have to fill out over and over again variations of the same form by hand and often submit them on paper. Notes have been built with a scanner for a few versions, which lets users capture images or pages as documents. You can edit them directly or export them as PDFs for use in filling out forms and making other modifications.
However, based on reader email and online questions in forums, relatively many people seem to have recovery needs. Since many iPhone users wonder how to recover scanned documents on notes urgently, we've compiled several quick and simple ways to achieve it.
- Part 1. Recover from Recently Deleted Folder
- Part 2. Use Effective Recovery Tool – Joyoshare iPhone Data Recovery [Hot]
- Mode 1. Recover from iPhone
- Mode 2. Recover from iTunes
- Mode 3. Recover from iCloud
- Part 3. Summary
Part 1. Recover Scanned Documents on Notes from Recently Deleted Folder
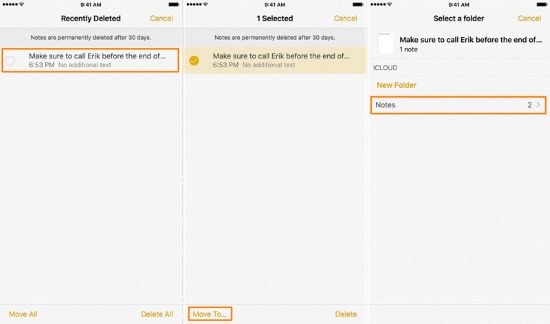
You may accidentally delete the scanned documents in Notes. If this happens to you, it's a little silver lining. Directly open Notes on your iPhone and head to its folder.
Step 1: Open Notes app.
Step 2: In the upper left corner, push the left arrow until the Folders menu appears.

Step 3: Tap on "Recently Deleted" and click on "Edit" in the top right corner.
Step 4: All items in Recently Deleted should have dots to the left of them. Tap on the dot next to the scanned documents on notes you want to recover.
Step 5: On this step, tap on "Move To…" in the lower-left corner.
Step 6: You can return Notes to the list with the rest of your Notes by tapping on "Notes".
Part 2. Recover Notes Scanned Documents from iPhone with Professional Tool [Hot]
The first method is futile when scanned documents in Notes disappear on their own or disappear inadvertently. Luckily, when it comes to such severe cases, an iPhone data recovery software will be the best choice. Any lost, deleted, or stolen data can be recovered using this software. We suggest you use Joyoshare iPhone Data Recovery , which is the one that receives positive comments from users.
The application is capable of recovering data in the event of various unexpected accidents, such as factory reset, failure of iOS upgrade, unintended deletion, or water damage. Plus, it supports recovering up to 20+ types of iPhone data including notes, text messages, contacts, call history, photos, videos, WhatsApp messages, etc. Without further ado, let's explore how to use it:
Key Features of Joyoshare iPhone Data Recovery:
Search and recover 20+ data types (documents included)
With fast scan speed and real-time preview ability
Support restoring from encrypted iTunes and iCloud backup
Developed with compatibility to all iDevices and iOS versions, like iPhone 13 and iOS 15
Now let's take a deeper look into how the Joyoshare iPhone Data Recovery software works.
Mode 1. Recover Scanned Documents on Notes Directly from iPhone
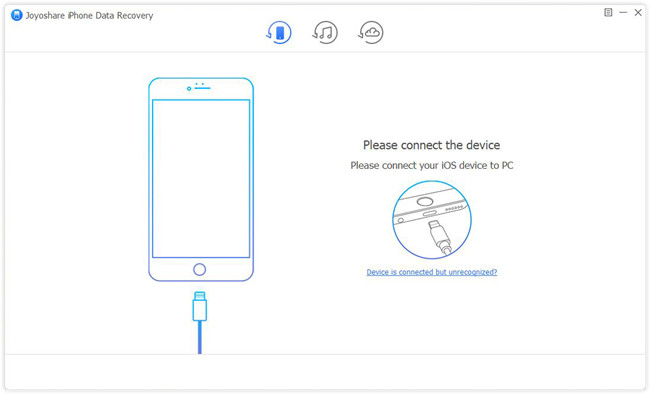
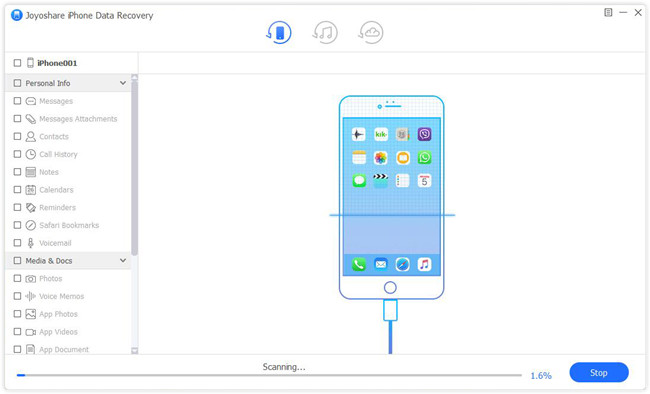
Step 1Install and Run the Program, Connect iPhone to PC
After downloading Joyoshare iPhone Data Recovery on your computer, install and run it. Then use an original USB cable to connect your iPhone to your PC. Please select the option "Recover from iDevice".

Step 2Begin to Scan Your Scanned Documents from iPhone Storage
Just click the "Scan" button on the bottom right corner to analyze your device and scan your lost scanned documents. Please wait while scanning takes place and make sure not to disconnect your iPhone from the PC during the process.
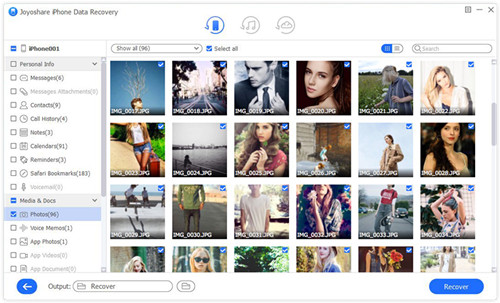
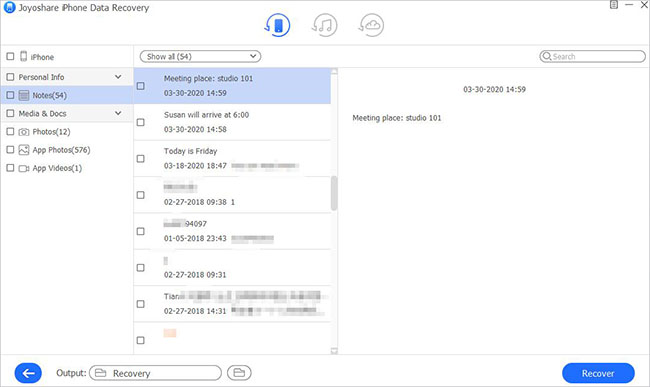
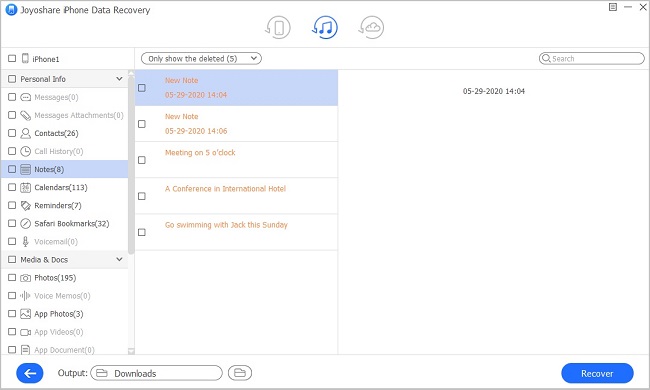
Step 3Preview and Begin to Recover Scanned Documents on Notes
All scanned data, including the scanned documents on notes, will be displayed on the left after scanning. Click "Recover" to start the recovery process only if you only need to recover scanned documents. Your computer will automatically save the recovered documents. Apart from documents recovery, you also can perform photos recovery and messages recovery as well.
Mode 2. Extract Scanned Documents on Notes from iTunes Backup
iTunes backups are unreadable by default, so users cannot access them. But if you have a broken, damaged, or stolen iPhone device, Joyoshare iPhone Data Recovery may be the ideal software to help you retrieve your notes scanned documents from iTunes backups to your local computer. So you can view them without no restrictions.
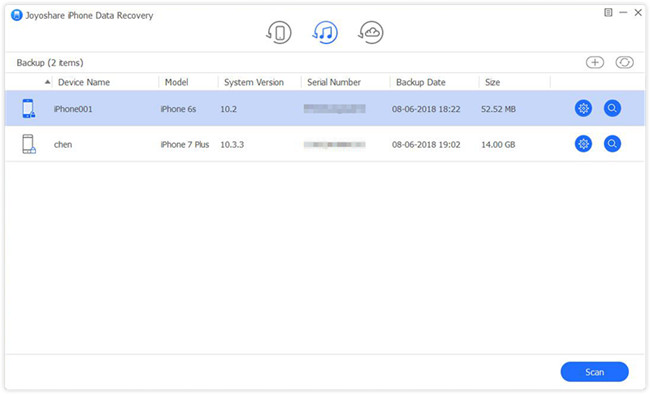
Step 1Choose iTunes Backup
After the program is installed on a computer, it starts to detect your backup files automatically. Then you should switch to the "Recover from iTunes" mode.
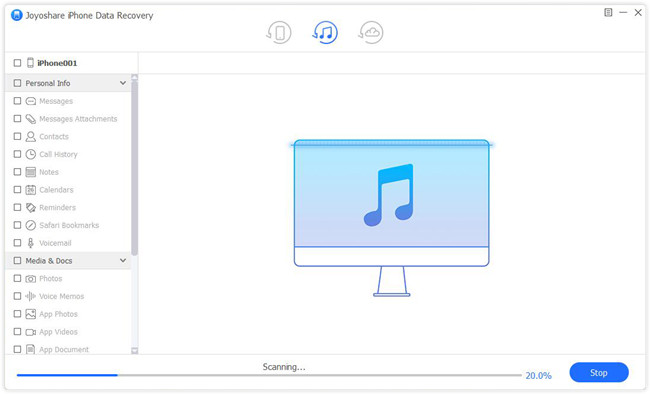
Step 2Scan Documents from iTunes Backup
Choose the data you need to recover and click on "Scan". Wait for a minute until it extracts all of the backup files.
Step 3Extract Facebook Messenger Messages from iTunes
Following a successful scan, Joyoshare iPhone Data Recovery will display all the messages that are recoverable on the screen. With the "Recover" operation, you can select the "Only show the deleted" option and output all items you wish.
Mode 3. Retrieve Scanned Documents on Notes from iCloud Backup
Your scanned documents can also be extracted from iCloud backup if your iPhone isn't available (damaged or lost).
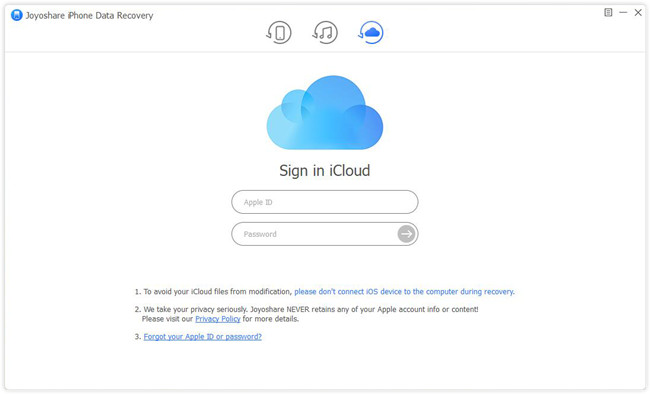
Step 1Select iCloud Backup and Log in iCloud Account
On the main screen, you should see a cloud icon on the top bar. Click on it to choose "Recover from iCloud" mode. You need to enter your Apple account and also the password to sign in to your iCloud. We promise that we never keep a record of your iCloud information or content.
Step 2Download iCloud Backup and Scan Files
After logging into your iCloud account, Joyoshare will find all the backup files you've made. Click the "Download" button after selecting the file you'd like to recover. Once you click it, a new window appears asking you to select the type of file you wish to download. Select them selectively or check the box "Select all". To begin downloading, click "Next".
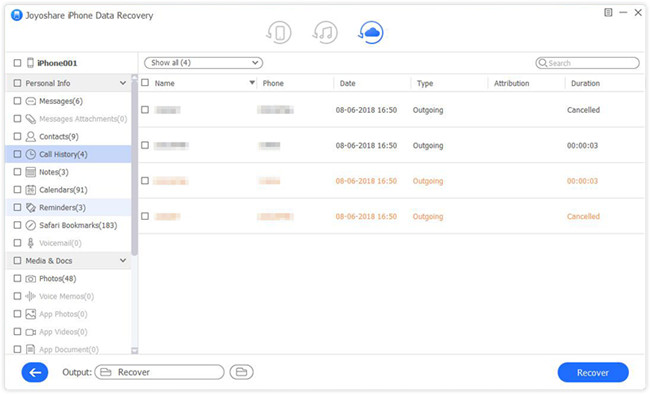
Step 3Preview and Retrieve Scanned Documents from iCloud Backup
After a short while, the scanning process is completed. You can now preview the contents on your iCloud account. Once you have chosen the items you wish to restore, click the "Recover" button to save them to your computer in one click. Remember to keep your device connecting to the computer.


Part 3. Summary
It could drive us crazy if the precious documents were accidentally deleted or lost; to prevent this, you should always regularly back up your iPhone. But if you don't, there's no need to panic. In case of an unplanned deletion, stop using your iPhone to avoid overwriting the lost data with the new one. And immediately ask Joyoshare iPhone Data Recovery to help you. Its clean interface makes it easy to operate and popular. So you can feel rest assured that you have chosen the best-in-class and reliable program to recover scanned documents on notes from iPhone with or without backup.