Q:"I was wondering if there are ways of recording TeamSpeak sound (including my mic but without the rest of the Windows sounds) without using the in app-recording. Are there other ways to record TeamSpeak audio?" - Reddit
Gone are the days when you need to present yourself to have a conversation with others. The advent of communication software changes people’s modern life dramatically. TeamSpeak is one of them. As a top VoIP communicating system, it usually enables friends or even gamers that do not know each other to chat during online gaming. If you are wondering how to record TeamSpeak to save your discussions or anything interesting, you could find the answer here. It will teach you how to do that with most common and popular tools.
Part 1. How to Record TeamSpeak - Joyoshare VidiKit
As the best video and audio call recorder, Joyoshare VidiKit - Screen Recorder, thanks to its powerful and easy-to-use features, is able to serve all TeamSpeak recording requirements for beginners as well as professionals. With the help of it, you can record video calls and conversations on TeamSpeak, Skype, Microsoft Teams, WeChat, Facebook, WhatsApp and more without time limit. Apart from that, this software captures live streaming videos, records gameplay, downloads online music, and saves them into MP4, MP3, OGG, FLAC, M4A, AVI, FLV, etc. To enhance your recording experience, this program can even schedule recording tasks, add a personal logo, take screencasts, trim and cut recordings.
- Ideally record audio from both microphone and computer system
- Dual mode to function as audio recorder and screen recorder
- Record MP3, WAV, FLAC and more audio files
- Customize audio codec, bit rate, channel, etc.
- With built-in timer to set scheduled task
- More combined tools to convert, trim, compress, watermark and repair files
Step 1 Install Joyoshare VidiKit
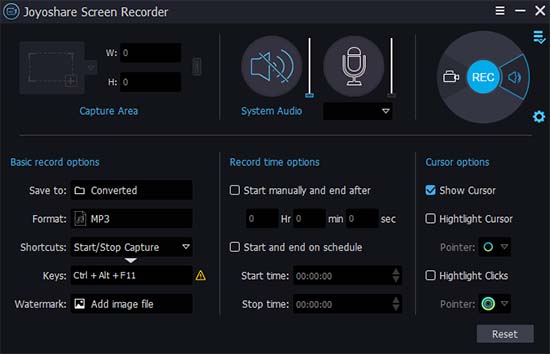
First and foremost, download the trial version available for free or you can unlock the full licensed version of Joyoshare VidiKit. Run it and open "Screen Recorder". Make sure that you have chosen "Record audio" mode ("Record video and audio" mode is on by default). If not, please click the "speaker" icon near the red REC button on the right side of the main interface. Then you can begin to prepare for your upcoming TeamSpeak chats.
Step 2 Set Recording Settings and Turn on Microphone
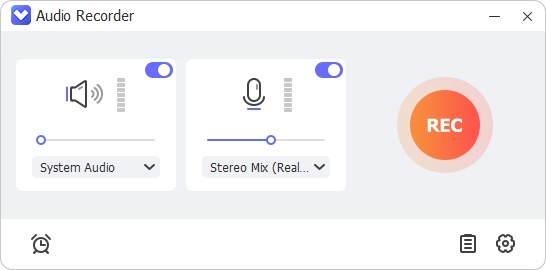
Click the gear icon to unfold the settings window. Here you are able to press the "Format" button under "Basic record options" to set your output audio format. Under "Record time options", you are allowed to decide when your TeamSpeak recording will start and when will stop of your own will. Next, move to the middle part of the main interface. Now, you can turn on your microphone and adjust the volume. You are free to enable "System Audio" if necessary.
Step 3 Start to Record TeamSpeak
Press the blue REC button to start to record your TeamSpeak chats. You are able to use the "scissor" icon on the minimized toolbar to cut TeamSpeak audio into pieces. Once you stop recording, a History window will pop up immediately. You can manage your recordings by renaming, trimming, and editing its ID3 tags, including the title, album, artist, composer, etc.

Part 2. How to Record TeamSpeak with Audacity
Audacity is an open-source freeware used to edit and record audios on Windows, Mac, and Linux systems. You can utilize it to record TeamSpeak audios in high sound quality without too much effort and then editing your recordings directly on this desktop tool. To learn how to use it to do that, you could follow the steps below.
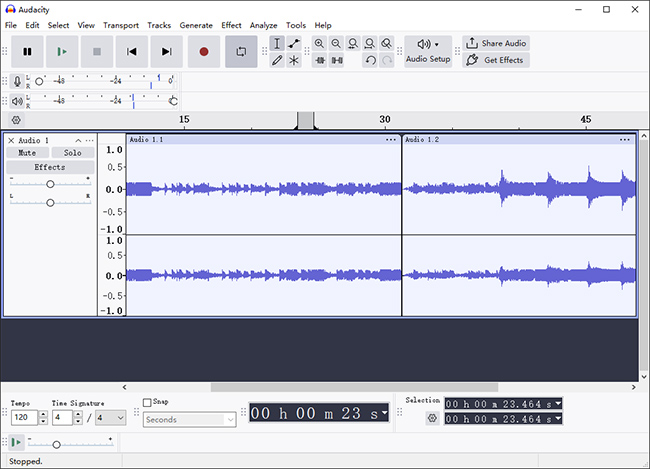
- Step 1: Run Audacity on your computer;
- Step 2: Start your TeamSpeak chats;
- Step 3: Press the red "Record" button at the top of the screen or "R" on your keyboard to begin recording;
- Step 4: Hit on the black "Stop" button at the top of the screen to stop recording;
- Step 5: Click the green "Play" button at the top of the screen to play your TeamSpeak recordings.
Part 3. How to Record TeamSpeak with OBS
You may be impressed by the fact that OBS, being a free and open-source program, is able to support Linux, Windows, and Mac operating systems. This program is equipped with a package of features, including selective scenes, sources, audio mixers, etc. which will be bound to meet all your demands during your TeamSpeak recording.
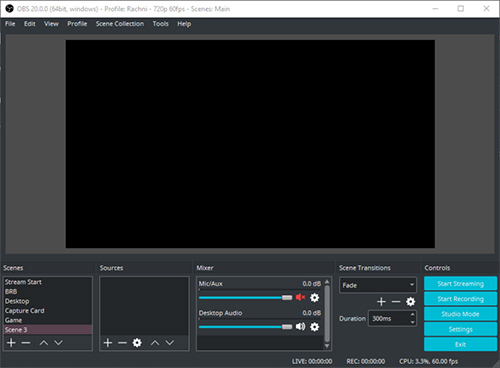
- Step 1: Launch OBS on your computer and press the "+" icon to select "Audio Output Capture";
- Step 2: Go to the "File" option at the top of the screen to tap "Settings";
- Step 3: Choose "Audio" and press the "Desktop Audio" drop-down list to confirm your audio source;
- Step 4: Now press the "Start recording" button at the lower-right corner of the screen to begin to record your TeamSpeak chats;
- Step 5: Once your conversations are ended, hit on the "Stop recording" button to stop.
Part 4. How to Get ShadowPlay to Record TeamSpeak
ShadowPlay, also known as Nvidia Share, is a screen recording software available for Windows PCs using GeForce GPUs. When you are using Xbox One or PS4 to play your games, it can automatically record your gameplay in the back ground. To be frank, this program is more like a gameplay recorder than a video & audio call recorder. But if you have a computer with Nvidia graphics hardware and would like to record your chats with your friends on TeamSpeak when playing games, then ShadowPlay could be one of your good options. The steps are as follows.
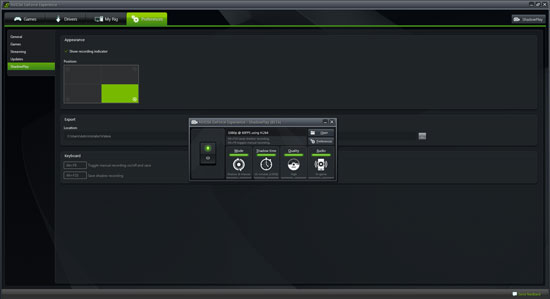
- Step 1: Open your GeForce Experience app;
- Step 2: Click the settings icon at the upper-right corner of the screen and check the box "Enable experimental features" under the "General" tab, which will require you to download a new version and restart the app;
- Step 3: Enable the "In-game Overlay";
- Step 4: Press the share button to click the microphone icon, and then choose the "Audio" tab under "Settings";
- Step 5: You are able to adjust the volume of system audio and your microphone, and choose either "Create a single track" or "Separate both tracks";
- Step 6: Now, you can click the "Record" button to record your game and your conversations with your friends on TeamSpeak.
Note: Selecting "Create a single track" will output your system audio and your microphone in the same file. Choosing "Separate both tracks" will create two audio tracks, which will enable you to edit your system audio volume and your microphone volume separately in your necessary editing software.
Conclusion:
Learning how to record TeamSpeak here can definitely make your recording journey easier. All aforementioned solutions, including Audacity, OBS and ShadowPlay, are popular and always asked by users. If you have no experience in manipulating such kind of software, then you can consider Joyoshare VidiKit, which is friendly for novices and can be operated independently.
