There are times when you may have the idea of merging dozens of live photos collected from the Internet into a shareable video. If you prepare to do it on your iOS device, then it is pretty a mere trifle. After all, you know, a new feature developed in iOS 13 can allow you to combine live photos into a video with Photos app. In case of necessity to join them on the computer, this article helps you as well, for it respectively introduces how to get it done with iOS apps and with desktop software.
- Part 1. Merge Live Photos with iOS Apps - Photos and Snapthread
- Part 2. Join Live Photos with Desktop Program - Joyoshare Video Joiner
(Part 1. How to Combine Live Photos Using iOS Apps)
Combining live photos on iOS device is really an easy task. As described previously, you can download a video editor available for iOS, for one, Snapthread, to complete it. If your iPhone is running on iOS 13, then it is much simpler. Using the built-in Photos app can have it done. See below for the operational steps.
Photos App
Nobody is unfamiliar with the Photos app. Hardly a day goes by without using it. But not everyone knows how to apply it to combine liev photos. Suppose you have no idea either, follow the instructions below.
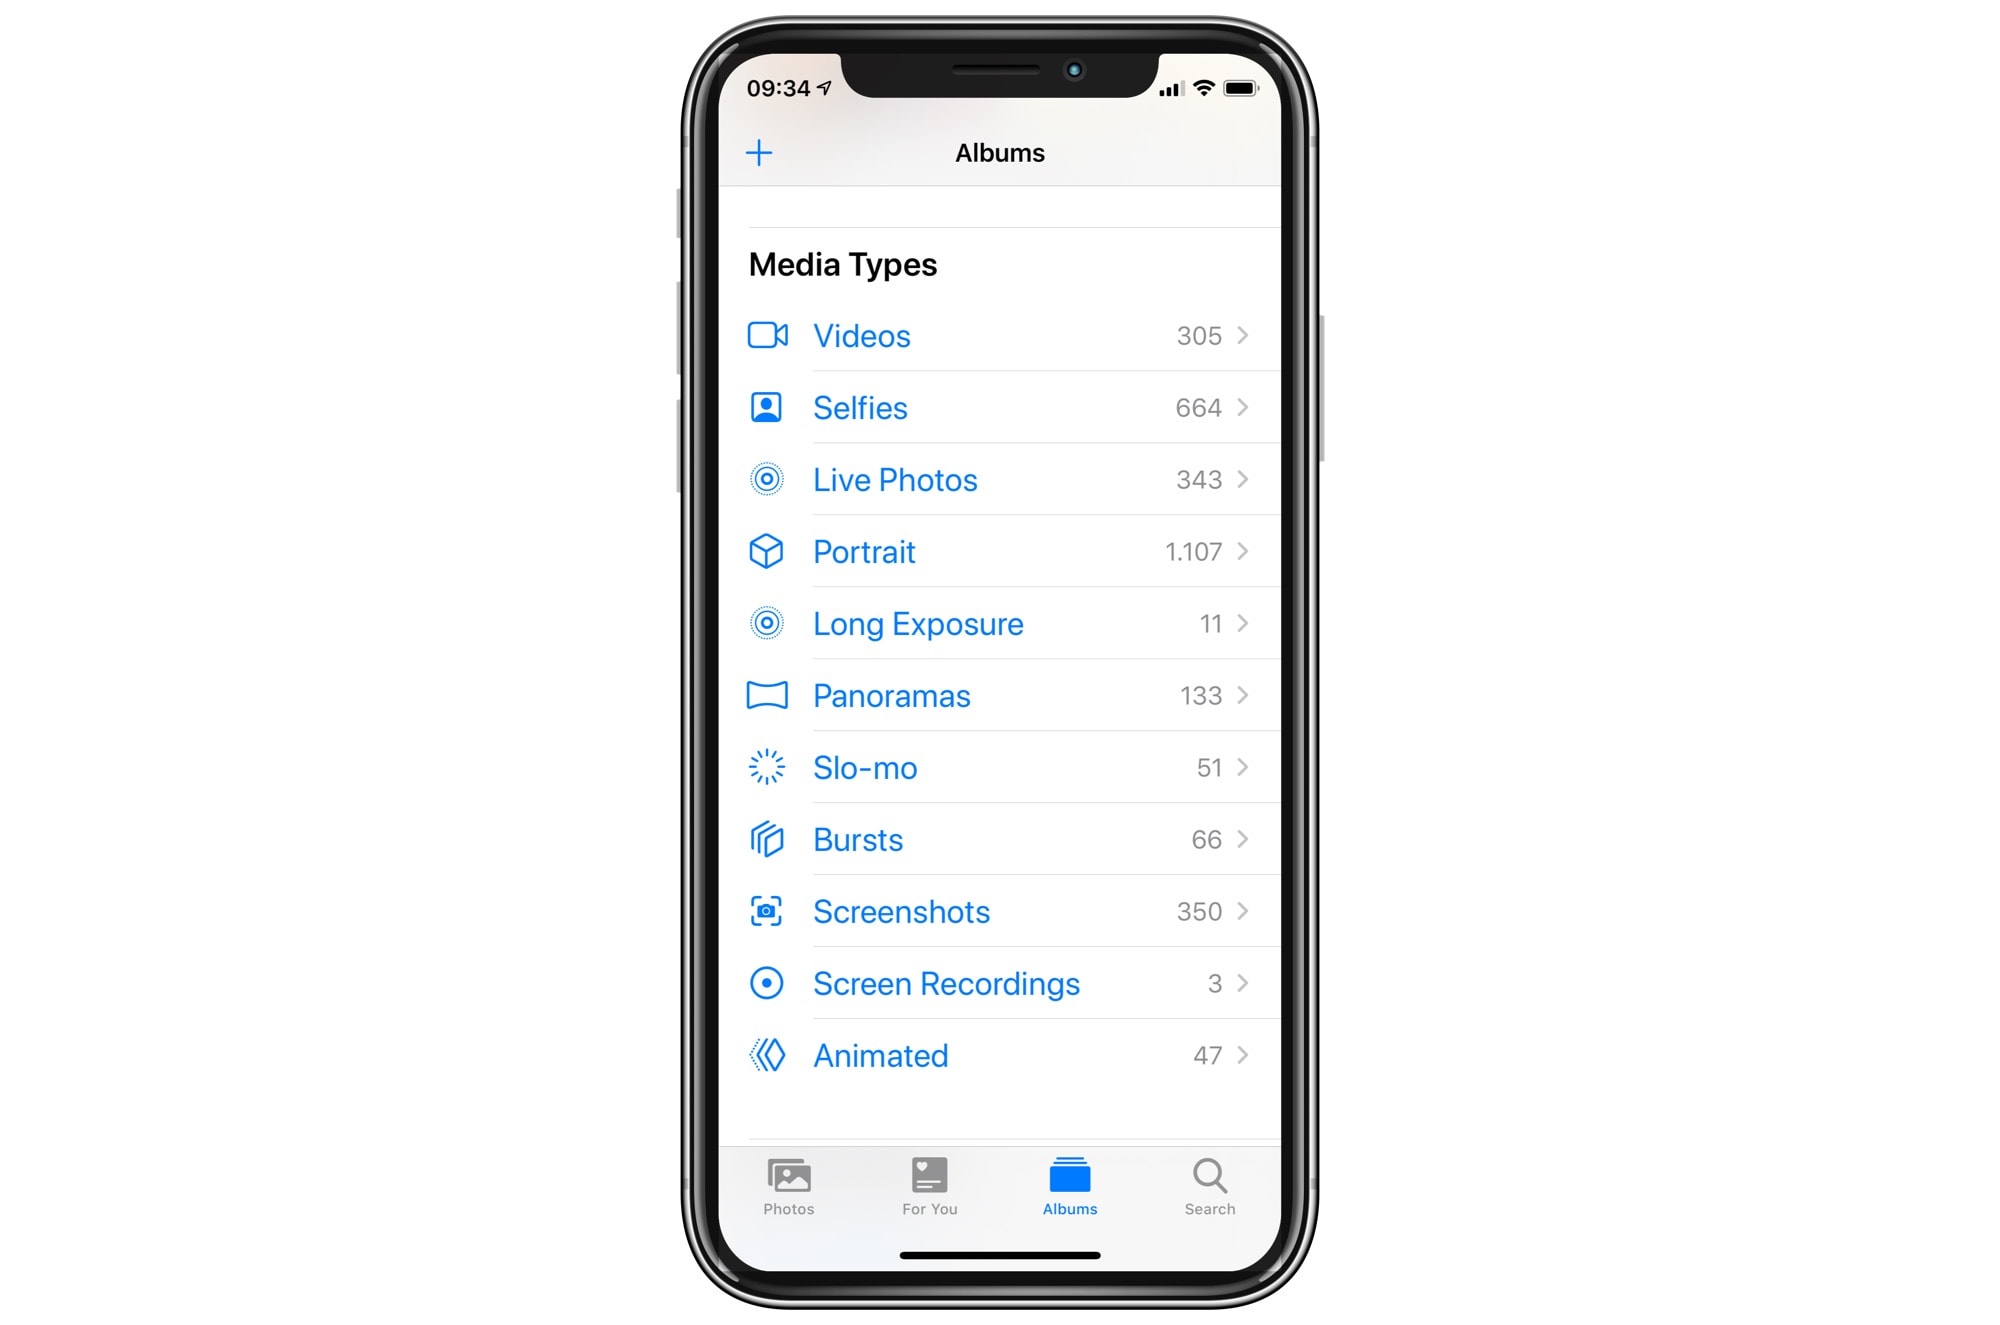
Step 1: Get into the Photos app on your iPhone and choose "Live Photos" in the "Albums" option;
Step 2: Tap on "Select" icon to check all live photos that need to be combined and then touch Share icon in the bottom left corner;
Step 3: In a drop-down menu, please touch "Save as Video". Like this, these live photos will be merged as a video in your videos album.
Snapthread
Snapthread is a casual, useful video editor and slideshow maker for all iOS devices, which is capable of working welll with live photos, images, and videos. With it, you can easily convert multiple live photos as a video and customize the video like adding filters/texts, adjusting aspect ratio, etc.
Step 1: Download Snapthread from the App Store. Then install and open it;
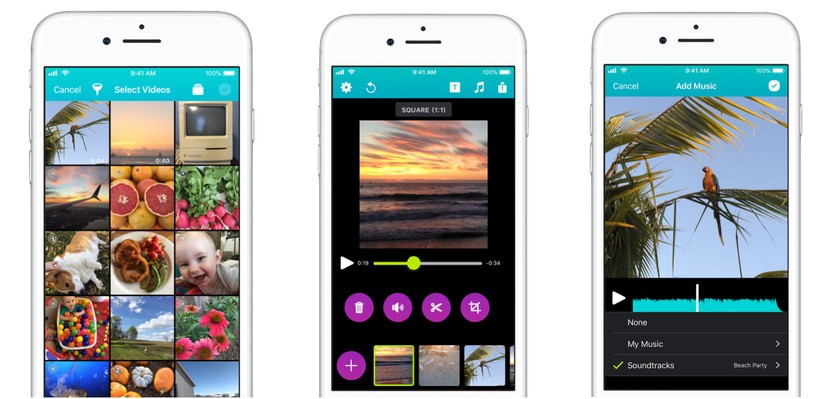
Step 2: When you launch it, it will pull up all live photos and videos on your device;
Step 3: You can click on the ablums icon in the top right corner to choose to only view live photos;
Step 4: Select live photos to be merged. After that, go back to the first interface and you can preview them if necessary;
Step 5: When previewing, it allows you to choose different aspect ratios, add soundtracks and titles, etc;
Step 6: Lastly, touch "Save" and the app automatically exports these live photos to a video.
Part 2. How to Combine Live Photos Using Joyoshare Video Joiner
Upon knowing a little further about how to merge live photos into a short video, let's next focus on how to make use of a desktop program called Joyoshare Video Joiner (Windows and Mac) to do the same. This is, so to speak, a brilliant yet flexible video joiner that permits you to combine live photos, GIFs, video clips, audio tracks in a large batch. Unlike certain software with a complicated interface, it comes with a convenient one, which makes it gain affection from many users.
Due to its strong compatibility and excellent performance, you not just combine files in the same or different format into one but also cut and edit them at ease without any difficulty. More than that, it provides a lossless mode to join files at 60 X faster speed as well as furnishing you with the encoding mode for video customization. As one of the best video joiners, merging live photos is as easy as winking for it.
Key Features of Joyoshare Video Joiner:
Combine live photos quickly and safely
Simple to use with a user-friendly interface
Totally compatible with multiple file formats
In addition to joining files, also can cut and edit them
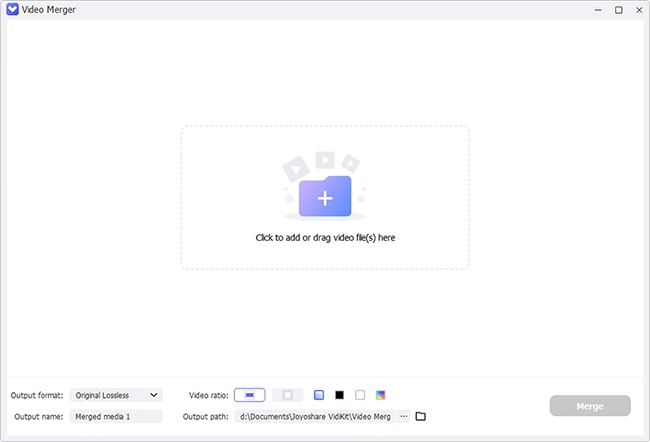
Step 1Import live photos to Joyoshare Video Joiner
Please download Joyoshare Video Joiner from its official website first. Then install and launch it on your computer. Next, add live photos to the video joiner by using the "Open File" button or dragging them directly.
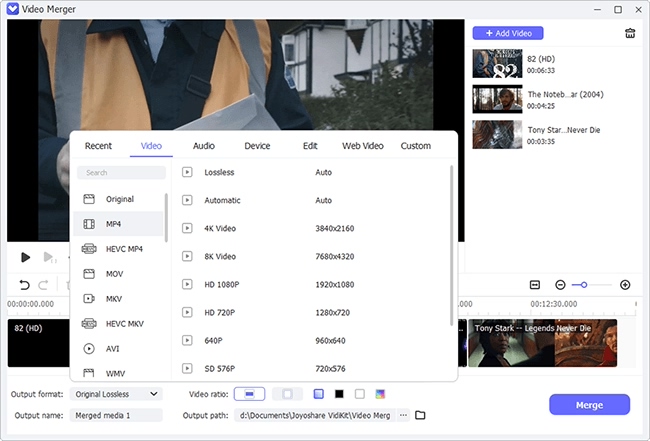
Step 2Select a mode for merging live photos
Once all live photos you want to combine are uploaded, you need to choose a mode to join them and select an output format for the video. What you should know is that the high-speed is also called lossless mode, which can merge files with zero quality loss. And the encoding mode means that you are able to edit files and customize file format before merging.
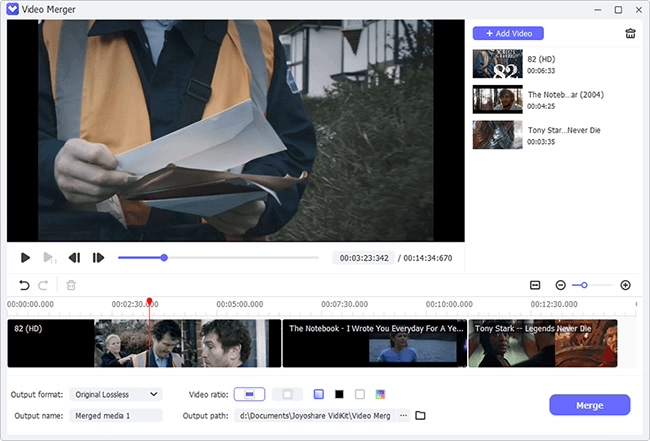
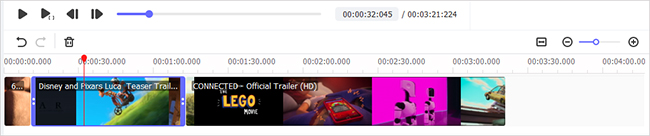
Step 3Cut unwanted content from live photos
When going back to the main interface by touching "OK", you might rename your live photos, adjust the order, and previewing them. Importantly, the program let you delete something unwanted from the original files by simply sliding the yellow timeline while previewing.
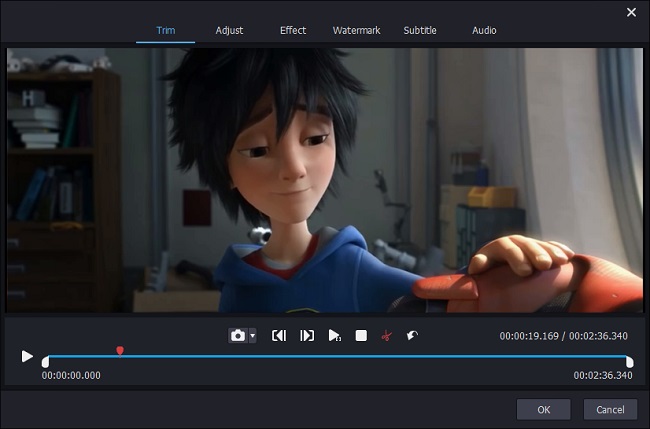
Step 4Edit live photos (only do with encoding mode)
As the title shows, this step is only for users choosing the encoding mode to combine live photos. If you are, you have the permission to edit these live photos, such as rotating them, adding special effects, inserting subtitles and watermark in text or image, adjusting aspect ratio, saturation, brightness, and others.
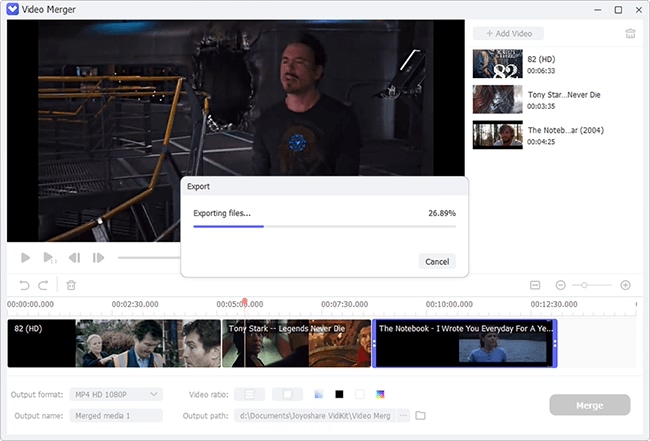
Step 5Begin to combine live photos
The final step is to start the merging process with the "Convert" icon. After the process, the local file folder storing the joined video will pop up on the screen.