As video technology advances to 4K and UHD, storing and sharing videos has become increasingly difficult. It is challenging to attach full-size videos to email, messenger, or social media channels since the platforms either limit the file size you can send or automatically resize the files, taking away quality. It gets worse when you cannot share videos online. If you want to send a big video to anyone on Mac, you can compress it before sending it. You can know how to compress a video on Mac with the help of compression tools. There are plenty of tools available for video compression on Mac, and in this article, we have listed a few.

- Tip 1. Joyoshare VidiKit
- Tip 2. QuickTime
- Tip 3. iMovie
- Tip 4. VLC
- Tip 5. HandBrake
- Tip 6. VideoProc
- Tip 7. FFmpeg
- Tip 8. PowerPoint
- Tip 9. Permute
- Tip 10. Clideo
- Tip 11. Movavi Video Converter
- Tip 12. Filmora
Tip 1. Joyoshare VidiKit
With Joyoshare VidiKit, let go of your tiredness while dealing with video files because this video compressor is the ideal solution for everybody. This video compressor allows you to compress several files in batch without any hindrance. It can compress your video by percentage or by file size. Also, you can reduce size without hampering the quality with its 40X compression speed. During the compression process, you are allowed to change video format and resolution as you want.

- Best Mac video compressor to compress various formats
- Process video on Mac with 40X speed
- Compress all videos in batch or independently
- Two methods to process video and audio files
- Freely customize video resolution
Step 1 Open Joyoshare VidiKit and Add Video Files
Open the video compressor, select Convert - Video Compressor and add videos by clicking "Add Files". Alternatively, you can utilize drag-drop method directly to import files.
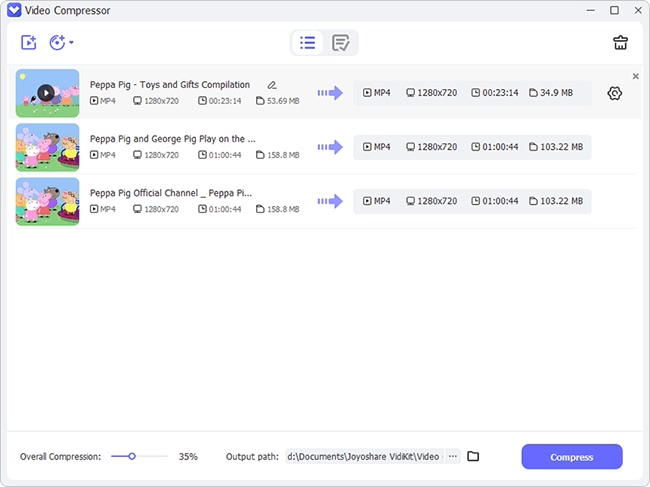
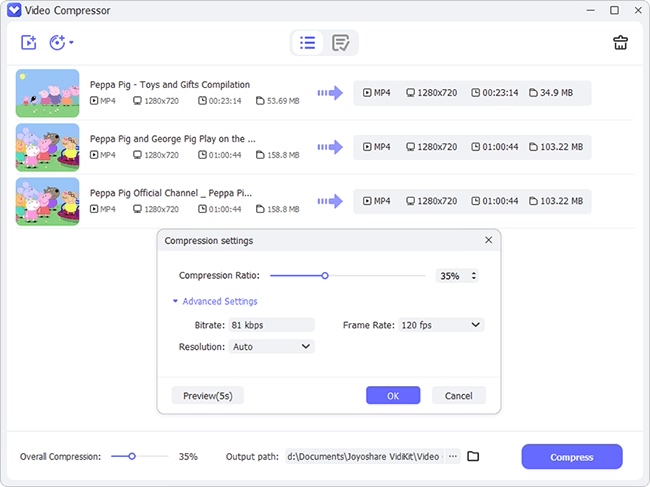
Step 2 Compress Video on Mac via 2 Methods
Select the compression by size or percentage. You can click the "Compress" button for batch compression in one click by choosing Apply to All. On the other hand, you can manually set the size to compress a video and customize format and resolution by clicking the gear icon, which nestles in the rear of your imported video.
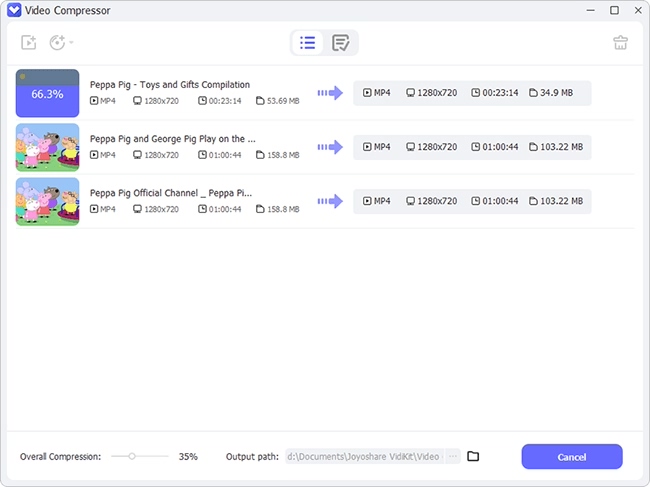
Step 3 Begin the Compression on Mac
Start compressing by clicking Compress button and save videos locally. You can also check the History window later.
Tip 2. QuickTime
Mac users overwhelmingly rate QuickTime as one of the best media players out there. You can also use it to shrink your videos on Mac. QuickTime has the best built-in features and is considered the best video compression tool on Mac. Here are the steps to compress videos in QuickTime.
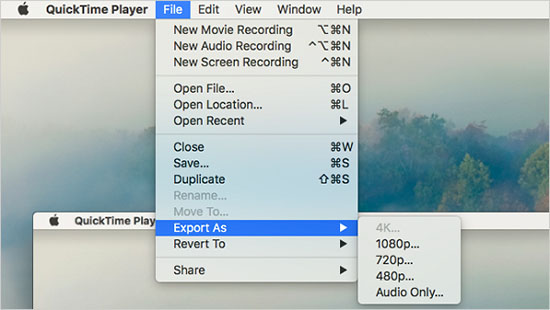
- Step 1: Open QuickTime.
- Step 2: Select your video when the pop-up appears. If there is no pop-up, click "File - Open File..." and then open the file.
- Step 3: Now, go to File again and choose Export As.
- Step 4: You will see options like 1080p, 720p, 480p. Save the video.
Tip 3. iMovie
One of the most commonly used video compressing tools is iMovie, and this tool gives you a bit more flexibility than other tools. Instant compression, different video style edits, subtitles, and all are the magic of this tool. Not worked with iMovie tool before? Not a big deal because we have covered the basic steps to compress video using it.
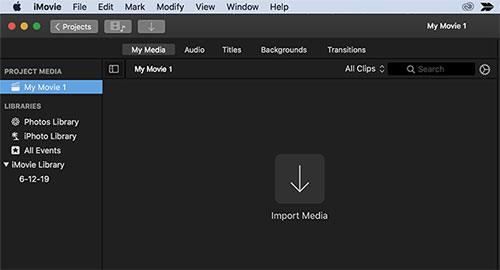
- Step 1: Open iMovie tool.
- Step 2: Drag and drop the video that needs to be compressed. or click File - Import and choose the video for compression.
- Step 3: After seeing the video in the timeline window, click on File - Share - File.
- Step 4: Customize the export settings and adjust the video quality and compression speed. Hit Next and save it.
Tip 4. VLC
VLC is a free media player that can be used to compress a video file on Mac and supports all types of audio and video compression. The video compression can be a bit hectic and time-consuming, but it is free to use. Plus, this tool works effortlessly without ads and spyware and can compress all formats.
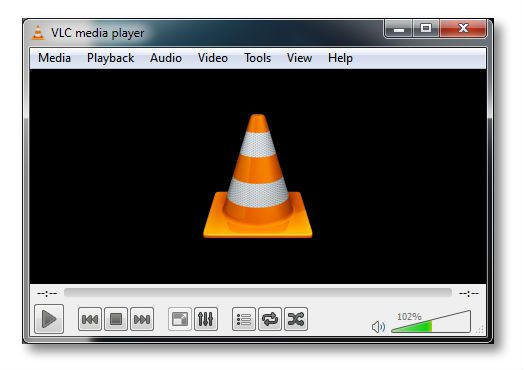
- Step 1: Open VLC. Click Media - Convert/Save option. Select the File tab and click on the Add button on the right side.
- Step 2: Import the video file for compression and then convert and save it.
- Step 3: After clicking on Convert, a new window will open up where you can adjust the compression settings. Save the changes.
- Step 4: Now browse and choose the location where you want to save the video. Finally, start video compression.
Tip 5. HandBrake
The best way to compress video on Mac is by using HandBrake tool, which contains title and chapter range selection and is a simple, easy, and super-fast compression program. It allows users to compress videos easily and is an open-sourced and freely available tool. It has been praised for years because of its popularity.
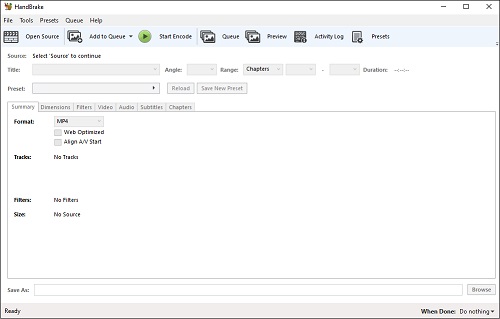
- Step 1: Download and install the application.
- Step 2: Choose "Open Source" in the video and select presets. From there, you can set the quality of your video.
- Step 3: Ensure to select a new name for your compressed video under Save As option and browse to upload the video that needs compression.
- Step 4: To start compression, click on the Start Encode button at the top of the tool to compress your video.
Tip 6. VideoProc
One of the most interesting features of VideoProc is that it is a one-stop video processing tool and has all the settings, ranging from zero to advanced editing. Along with compression, it is also used for cutting unwanted section. It has three recording modes, pretty interface and useful functions.
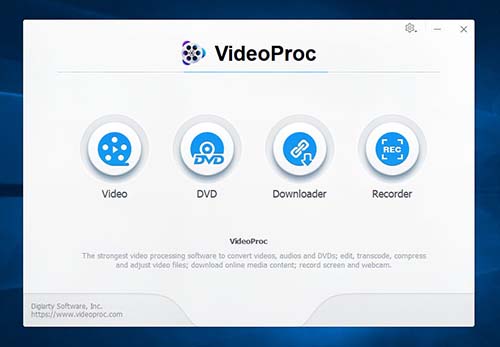
- Step 1: Install and launch VideoProc. You will see the many options and other information. Click Video button.
- Step 2: There will be a format tab beside the Resolution.
- Step 3: Adjust the resolution and click on done. Now start your video compression.
Tip 7. FFmpeg
FFmpeg is a free and openly available software for compressing videos and is one of the most powerful audio/video players. With no expertise needed and no quality loss, it is super easy to download and install. It is a complete cross-platform solution for those who want to edit videos and know how to make a video file smaller on Mac.
- Step 1: Install FFmpeg on Mac, and finish the whole setup.
- Step 2: Input command line like compress and convert MP4 to WMV or compress and convert MP4 to WEBM for YouTube or compress and convert H.264 to H.265.
- Step 3: Do some settings like the Constant rate factor and start reducing your video file, and you are done.
Tip 8. PowerPoint
PowerPoint presentation tools can be used to reduce the size of video files on Mac. The media compression in PowerPoint compresses both audios and videos. Here are some steps to compress videos. It is worth mentioning that, no matter who you are, newbie or professional, you can be accomplished in this method within short time.
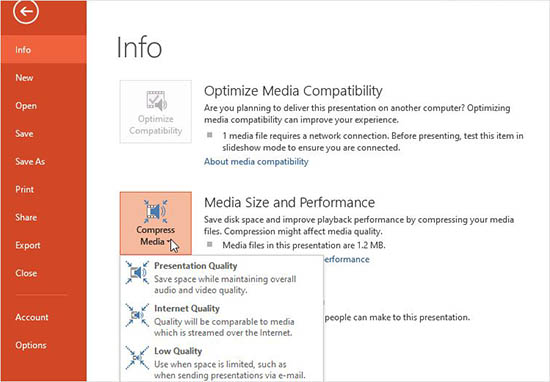
- Step 1: Open PowerPoint and click the File tab. Choose "info".
- Step 2: Go to the Media Size and Performance area. You will see "Compress Media", and select it.
- Step 3: A dialog box will appear, and PowerPoint will be displaying the compression status. Close it as the compression is done.
Tip 9. Permute
Permute is a professional and versatile video compression tool used to compress videos on Mac. This program converts both video and image files, as well as audio files, to any available format without sacrificing any quality. The tool can even do customizations and the drag-drop interface makes it super easy to use.
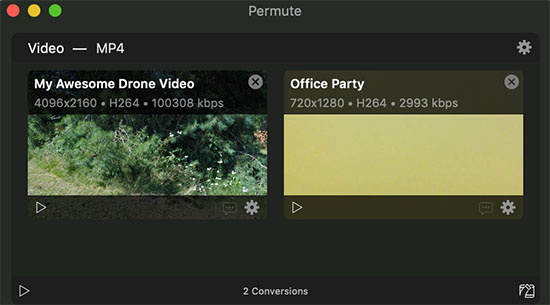
- Step 1: First, launch Permute application. Now drop the video that needs to be compressed.
- Step 2: In the top-right corner, you will see Settings. Click that.
- Step 3: It allows you to set the bitrate and resolution and change the format. Now start compressing the video and save it.
Tip 10. Clideo
This tool has just everything that you need to compress your videos. Clideo compresses the videos by 40% and supports MP4, WMV, and MOV. VOB, AVI, and other formats. All Clideo communications are performed securely, and you don't have to download or install anything. It has an effective loop video and meme maker feature.
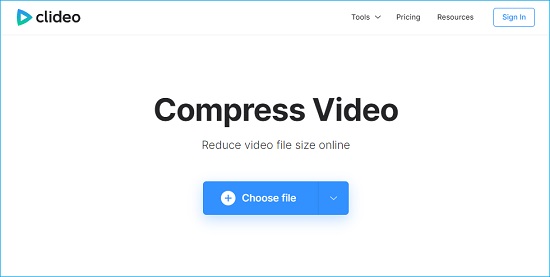
- Step 1: Open the video compressor. Upload a video on it by clicking Choose File.
- Step 2: Now wait and let Clideo reduce the size of the video file after clicking Compress.
- Step 3: Now save the compressed file.
Tip 11. Movavi Video Converter
Do you need a simple tool that can compress your big-sized videos? Movavi Video Converter is here for you to know how to make a video smaller on Mac, and is the best tool for processing video without losing quality. With this tool, you can unleash Mac's potential for compressing videos and process of a huge number of files in batch.
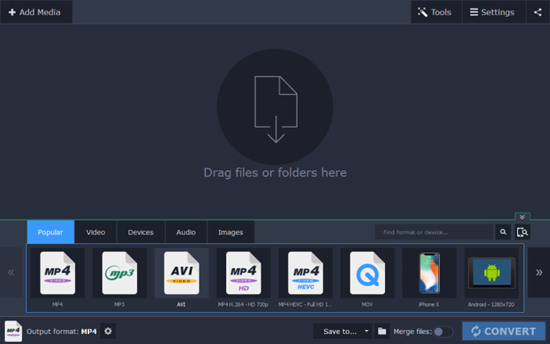
- Step 1: Open Movavi Video Converter and click on Add Media - Add Video to add a video.
- Step 2: Click the gear icon to adjust your desired video output format. Define and adjust the compression rate by clicking file size on source file list.
- Step 3: Now compress the video by selecting CONVERT and hit the Save to button.
Tip 12. Filmora
Filmora is considered a powerful video editing and compression tool for Mac. It is famous for its amazing features. The video compression tool supports 12+ formats, and the software can handle all the editing needs with utmost efficiency. Filmora compresses the videos at high speed, supports 4K editing and removes noise from video.
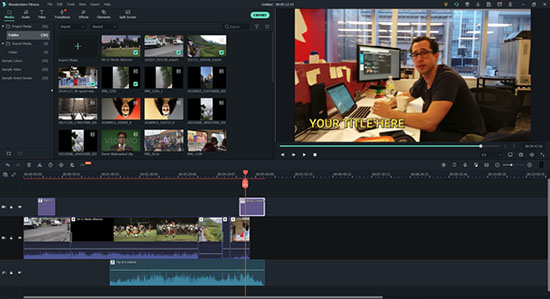
- Step 1: Open Filmora and import the video. Drag the video to the timeline.
- Step 2: Here, you can reduce the video length by dragging red line and clicking the scissor icon. Alternatively, crop the video screen by using Crop and Zoom option. Click Export to customize the resolution, frame rate, and bitrate.
- Step 3: Now, click Export to save video and get compressed video.
Conclusion:
Now you know how easy it is to compress video files with 12 tips. Based on your goals, you can choose different compression solutions depending on how you use tools and knowledge. With this, we hope you get the answer to how to compress a video on Mac. If you want to get more advanced functions to customize your video, we highly recommend Joyoshare VidiKit as it is packed with multiple features that you need.
