When it comes to adding subtitles to a video, the first thing you think of is that this is cumbersome. Yes, inserting subtitles to a video need you to be patient if you need to type it by yourself. However, Adobe Premiere offers you a simple way to embed subtitles to a video with few steps. Here we will show you how to add subtitles in Premiere so that you can output a video with captions easily. Besides, another workable way is introduced. Then you can have another option.
- Part 1. Add Subtitles in Premiere
- Part 2. Another Simple Way to Add Subtitles to the Video
- Part 3. Tip: Websites to Download Subtitles
Part 1. How to Add Subtitles in Premiere Pro
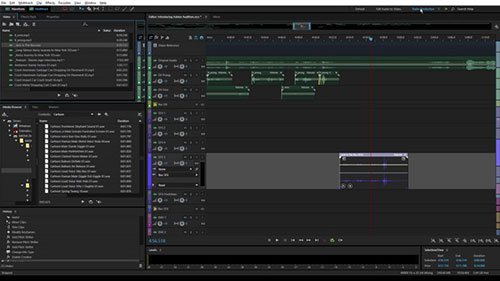
Adobe Premiere Pro is a professional and powerful video editing program, which is developed by Adobe System. It is compatible with Windows and Mac OS X computers. You can use it to trim video, adjust video color, crop video, rotate video, and so on. It is easy to use to add subtitles to the video. It supports .scc, .mcc, .xml. .stl, and .srt captions formats. The following is the detailed instruction to teach you how to add captions to the video with Premiere Pro.
Step 1Run the program
Download the caption file online. If you don't know where to download the subtitle files, you can read part 3. Install and open Adobe Premiere Pro. Create a new project and add the video that you need to add subtitles. Then drag and drop the video to the timeline.
Step 2Import captions file
Tap on the "File" at the upper-right corner and select "Import" option from the drop-down list. Then open the file. You will see it on the media tab. Grab and drag it to the "Sequence" window.
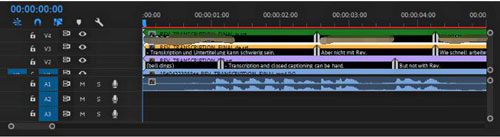
Step 3Enable close-captions
In this step, you need to enable the closed caption by clicking the "Wrench" button in the lower-right corner of the program. Find "Closed Caption Display" and click "Enable". After this operation, the captions will appear during video playback. If you don't activate the close caption, you won't see the subtitles.
Part 2. Best Alternative to Adobe Premiere Pro
If your computer cannot support Adobe Premiere Pro since the low hardware, Joyoshare Media Cutter can be your best alternative option. This video editor works well in Windows and Mac computers, which won't take much CPU when it is running.
It can help you add subtitles to the video with its built-in video editor by several clicks. It is also doable to trim and merge videos and audios, add video effects, adjust audio, customize video parameters, and so on. Additionally, it allows you to export videos and audios in MOV, MP4, AVI, MKV, M4V, 3GP, MP3, AAC, OGG, WMA, and more formats losslessly and quickly.
Key Features of Joyoshare Media Cutter:
Add subtitles to video in a simple way
Support to customize codec, bit rate, frame rate, etc.
Cut and output videos/audios losslessly at 60X fast speed
Own a built-in media player and real-time preview window
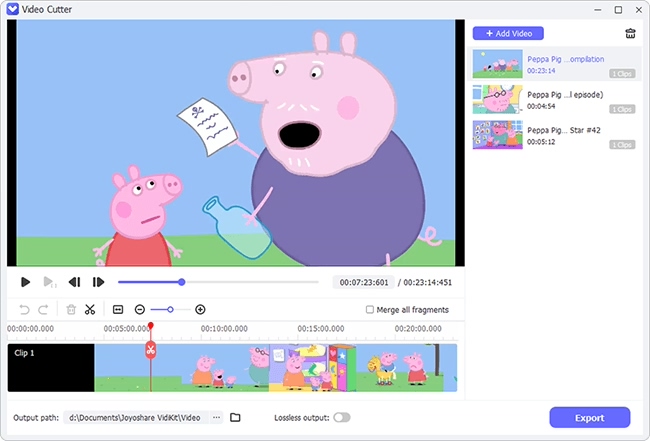
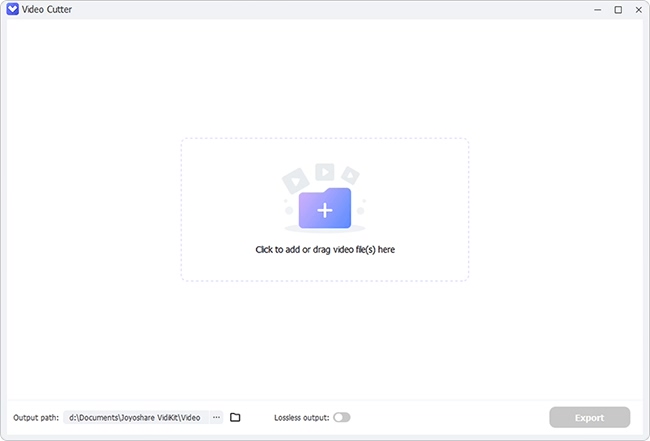
Step 1Add video to Joyoshare Media Cutter
Install and open the video editor on your computer. Press the "Open" button to locate the folder and select the video that you intend to add subtitles. Also, it allows you to directly drag the video to its interface.
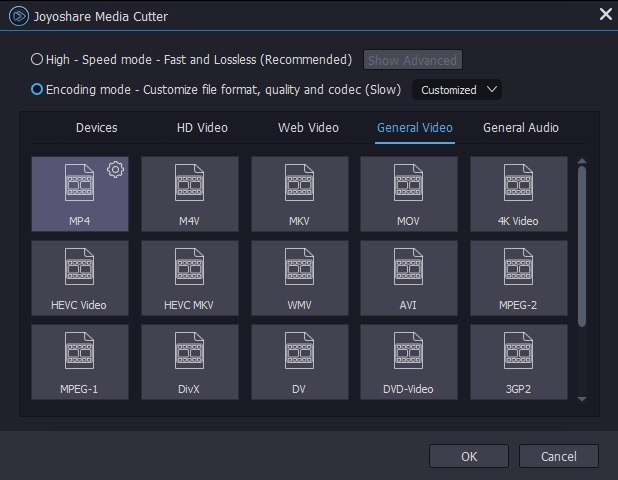
Step 2Choose output mode and format
Look for the "Format" button at the bottom of the program and click it to enter a new window. Check the box next to the "Encoding mode" so that you can customize the video's parameters and quality. You can select the output format from the below options, such as "Devices", "HD Video", "Web Video", and "General Video". After that, tap on the "Ok" button and go back to the main interface. This program has a "High-speed" mode to help you output a video quickly and with lossless quality.
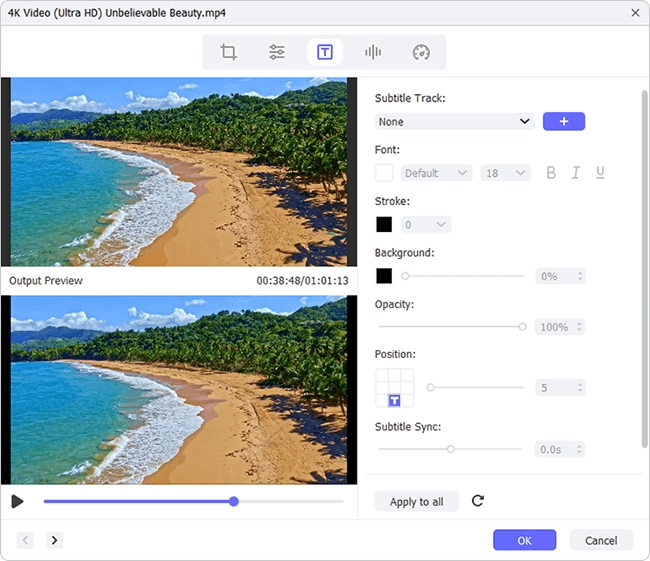
Step 3Add subtitles to the video
Move the cursor to the "Segments" tab and click the "Edit" button > press the "Subtitle" > select the "..." icon to open the caption file" and insert it to the program. if you need it, you can customize the subtitles by hitting on the "T" option. At last, click "Ok" to save the setting and press "Start" to export the video with subtitles.
Part 3. Where Can You Download Caption Files
In case you have no idea where you can download caption files online, here we introduce 3 websites for your reference.
Subscene
With a simple interface, Subscene is a good website to download subtitles of the movies, TV series, and music videos. Even though it has an advertisement, it won't affect you to download files.
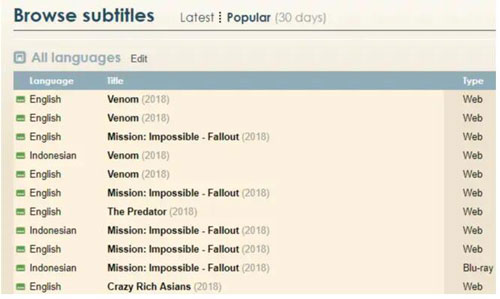
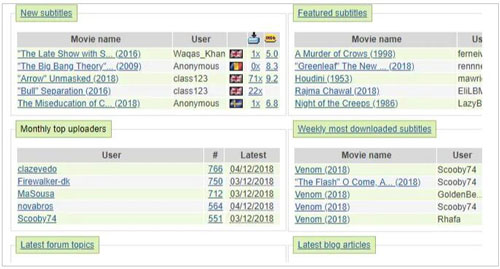
Open Subtitles
Compare with Subscene, Open Subtitles has more advertisements, but it offers you more languages. Also, it includes more than 4 million subtitles. If you don't want to be disturbed by the advertisements, you can become a VIP member of the website.
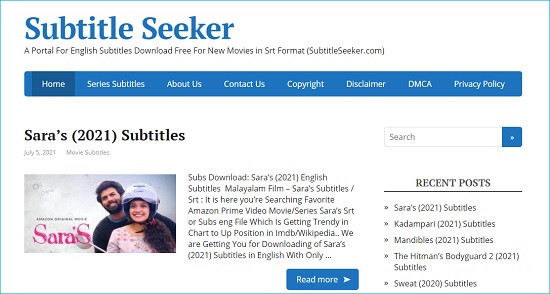
Subtitle Seeker
If you only want to download subtitles in English, you can choose Subtitle Seeker, which separate subtitle into movie and TV series. The files you download will be .srt format.