As a leader in the industry of editing software, presumably Premiere Pro is preferred by a great many users. People smoothly create and edit videos with the assistance of it. More recently, some say that Premiere Pro seems to only combine audios with video instead of merging several separately recorded videos. Is that so? Of course not. So then how to merge clips in Premiere Pro on earth? Please read through the following, in which not just the exact steps to do it with Premiere Pro but also another method to merge video clips is presented.
Part 1. How to Merge Clips in Premiere Pro
As an industry-leading video editing program developed by Adobe, Premiere Pro serves to film, web, and TV. Geared towards the professional field, it has the ability to edit high-resolution videos at up to 10240×8192 resolution (maximum dimensions in Adobe Premiere Pro) and supports 3D editing when working with plug-ins of Cineform's Neo line, which allows users to experience the fun of viewing 3D videos by 2D monitors.
Beyond that, its plug-in architecture enables it to work well with a variety of video/audio formats and codecs on both Windows and Mac. Certainly, only the editing function is not enough to take it to stand out among its peers. Also, all of these like joining, creating, capturing videos, adding titles, and applying filters with other effects can be realized with Premiere Pro. On today's topic, below is a step-by-step instruction on how to merge clips in Premiere.
Step 1 Launch Premiere Pro and create a sequence
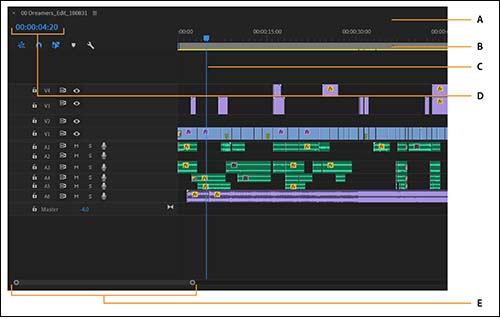
Run Premiere Pro. And then create a sequence and add your video clips to the timeline.
Step 2 Create another sequence
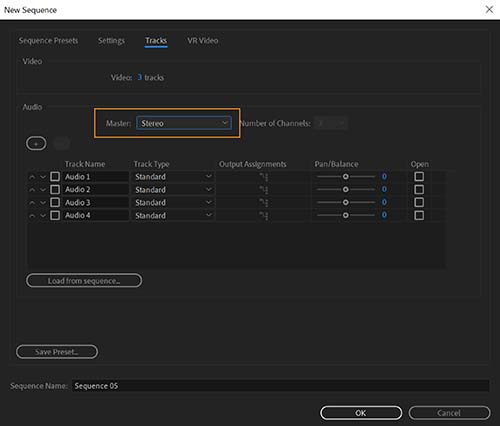
Next, choose another video clip and drag it to the "new item" button, which will create a new sequence. To distinguish these two sequences, you can rename one of them.
Step 3 Merge clips in Premiere Pro
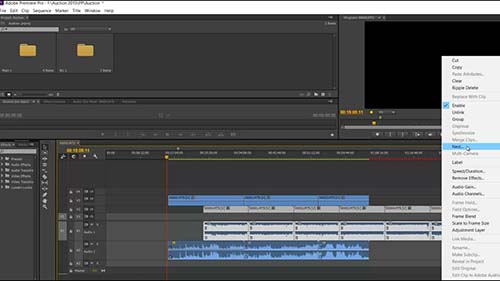
After that, just drop the previous sequence into the new one, which is called nested sequence. Like that, your videos are merged into one clip. Once done, you can go back to edit it if needful.
Note: Anyone who has used Premiere Pro probably discovers that there is an "Merge Clips" button under the "Clip" option. But this button is just applied to combine audios with video rather than joining several separate video clips.
Part 2. How to Merge Clips with Joyoshare Video Joiner
There is certainly more than one way to combine videos into one clip. Selectively, here will present another program referred to as Joyoshare Video Joiner so that you can independently choose one of them as actually desired. The principal feature of this video joiner, as its name implies, is to merge a vast number of video/audio clips into a whole with zero quality loss. In an ideal situation requiring no editing and encoding, the speed of merging clips of the same format can be up to 60X. Except for the ability to merge, a combination of cutting and editing capabilities have also contributed a lot on its way to the top.
What's more, Joyoshare Video Joiner is compatible with all kinds of file formats. In detail, not only does it support to import file in various formats but also converts them into popular formats of sorts, even the formats with which different devices are compatible. To provide significantly better user experience, the merging program gives you permission to extract audio from videos, and flexibly reorder these videos by simply dragging them one by one. Well, the brief introduction to Joyoshare Video Joiner is suspended for the time being. The following focuses on how to apply it to merge video clips.
Major advantages of Joyoshare Video Joiner:
Join video/audio clips quickly and losslessly
Integrate the function of merging, cutting, and editing
Provide the high-speed mode and encoding mode to join
Allow you to preview and rename videos before merging
Step 1Add clips into Joyoshare Video Joiner
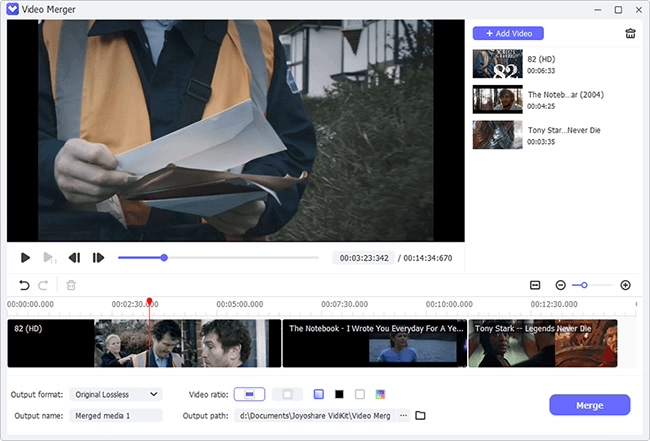
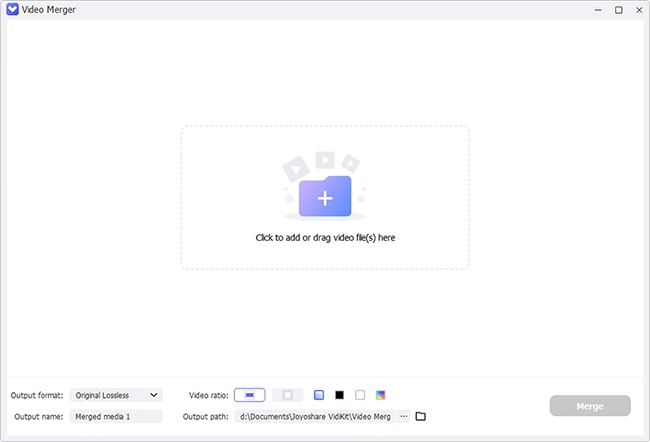
The first thing is definitely to have Joyoshare Video Joiner downloaded and installed on your computer. Afterward, launch it and drag video clips to the program (clicking on "Open File" to add videos from the local files is also accessible).
Step 2Select merging mode and output format
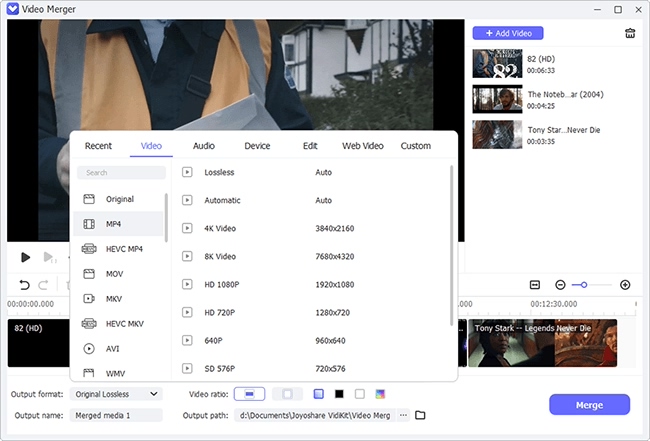
Then, you need to touch "Format" to choose either high-speed mode or encoding mode for merging videos. Note that the high-speed mode suits users who only want to join videos of the same format with original quality. If you feel like customizing files, please choose the encoding mode. Besides, select an output format is needed in this part.
Step 3Cut unwanted sections
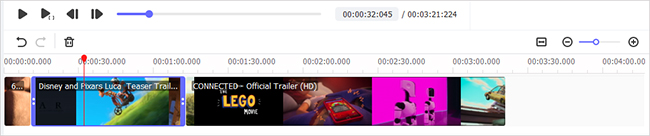
When going back to the main interface, you could rename videos, and move the yellow timeline to cut the undesired sections from video clips if there is a need.
Step 4Edit video clips
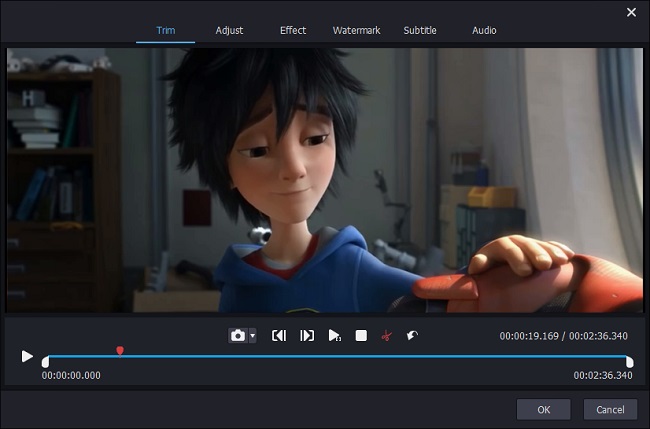
As to merge clips with encoding mode, what else can be done is hitting on "Edit" to apply visual effects, trim and rotate videos, add your own watermarks and subtitles, and even adjust aspect ratio.
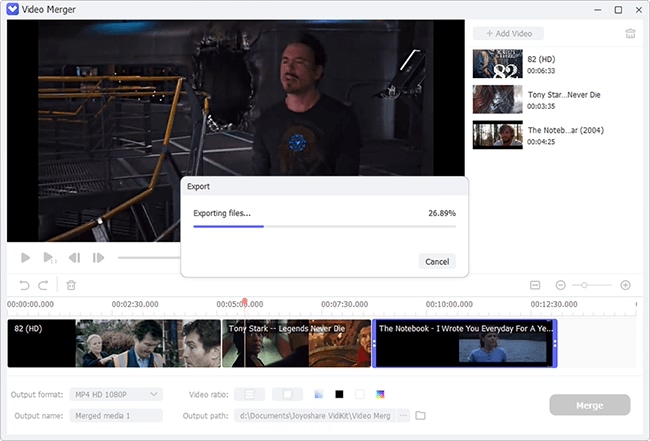
Step 5Merge video clips
With all the pieces in place, just tap on "Convert" in the bottom right corner to start the process of merging video clips. Once finished, you can access the local file to play the merged video clip.