High-quality video resolution is something everyone wants. After all, high-quality video means an excellent video-watching experience. However, the highest resolution videos may not be suitable for every purpose. And this is the reason why people search for "how to convert 4K to 1080p". If you are also trying to learn about how to change resolution, you have come to the right place. This guide will provide you with the best video converters that you can try. Keep reading to find out what these tools are.
- What Is 4K Video
- Reasons for Changing 4K Videos to 1080p
- Part 1. Best Way to Change 4K to 1080p
- Part 2. Change 4K to 1080p on Mac/Windows
- Part 3. Change 4K to 1080p on iPhone
- Part 4. Change 4K to 1080p on Android
- Part 5. Change 4K to 1080p Online
What Is 4K Video?
Videos are available in different resolutions out of which, the highest resolution is provided by 4K. 4K is essentially high-definition and the resolution of such videos is 4X higher than 1080p HD videos. Now, not every device will be able to play 4K videos. One will need a 4K monitor if you want to play 4K videos on a computer, else, you will need 4K resolution TVs to watch the videos on a big screen. The pixels offered by a 4K video camera are 4096 x 2160 pixels.
Reasons for Converting 4K Videos to 1080p
- Some media players and devices don't accept or acknowledge 4K videos.
- 4K videos take time to upload and they consume a lot of space.
- When it comes to online streaming, people with poor internet issues can face difficulty while streaming 4K videos.
- 4K devices are expensive and not everyone can afford 4K resolution monitors or TVs.
Before starting showing solutions, we provide several reasons for downscaling 4K to 1080p.
Part 1. How to Convert 4K to 1080p without Losing Quality
If you are searching for a robust way to learn how to convert 4K file to 1080p without losing quality, we will recommend using the all-in-one Joyoshare VidiKit - Video Converter. This professional tool lets you change video resolution, edit the video, customize video format, specify output path and many more. Also, before starting the conversion process, you get a chance to enhance your 4K video with its function to add watermark, rotate video, resize video, add effect, change audio, etc.

- Let you do batch compression
- Provide you with a preview before you save the converted videos
- Do conversion at 60X speed
- Do not let you lose the video quality
- Best video resolution converter to convert 4K to 1080p, 720p and more
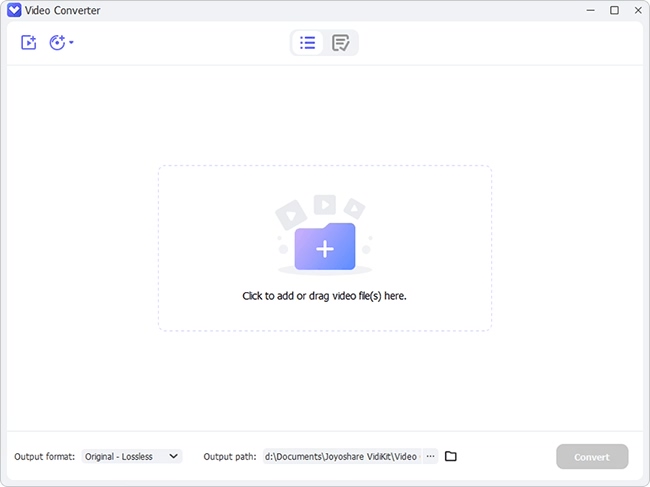
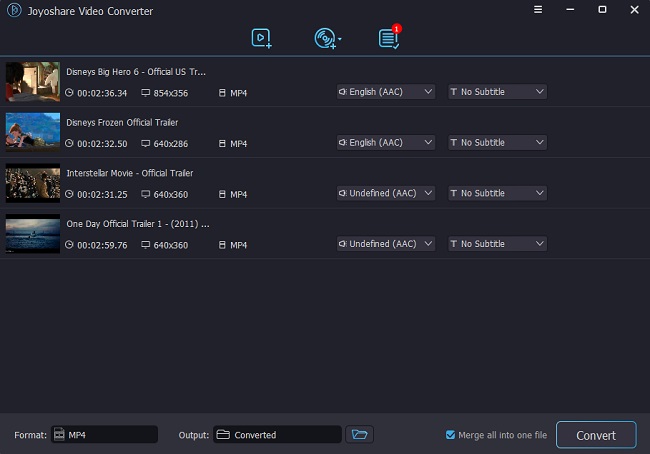
Step 1Download Joyoshare VidiKit and Launch It
The first thing to do is visit the official website of Joyoshare VidiKit and download it. Let it get installed and then launch it by clicking Convert - Video Converter. Upload the 4K video that you want to downscale to 1080p. You can upload multiple videos if you want.
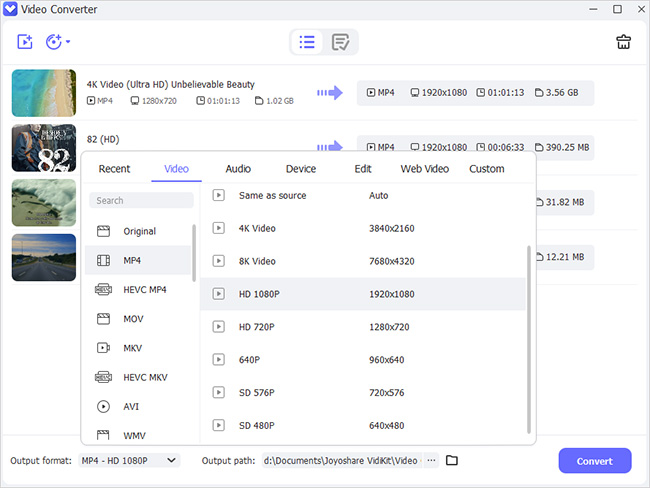
Step 2Choose 1080p Resolution
Click the Format option at the lower left corner and choose the output format for your video and once satisfied with the changes after selecting "Encoding mode". To customize codec, bitrate, sample rate and more, simply click the gear icon. Now you can choose 1920*1080 resolution after clicking Resolution option.
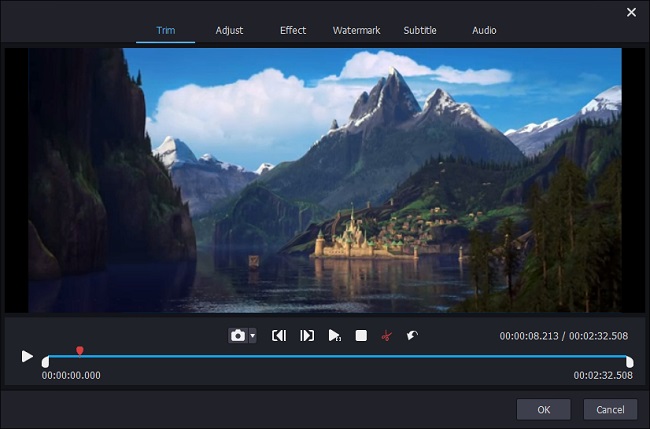
Step 3Edit the Video
You can find the Edit option at the rear of your uploaded 4K video. Click this option to edit your video with its editing function like adding watermark, rotating video, editing subtitle, changing audio, etc.
Step 4Convert 4K to 1080p
Click on the "Convert" tab to begin the conversion process. To preview the converted video, go to History window and play your 1080p video.
Part 2. Convert 4K to 1080p on Mac/Windows
1VLC
Another good way is to convert 4K video to 1080p via VLC. What many people don't know is that VLC can do much more than only play videos. It is available for both Mac and Windows. It not only lets you watch videos but also lets you convert videos to different formats and works as an audio/video editor. Since VLC supports multiple video formats, it can convert 4K videos effortlessly.
- Pros:
- VLC is available for both Mac and Windows
- The interface is easy to follow
- It supports multiple video formats
- It is free to use
- Cons:
- VLC doesn't have personalization features
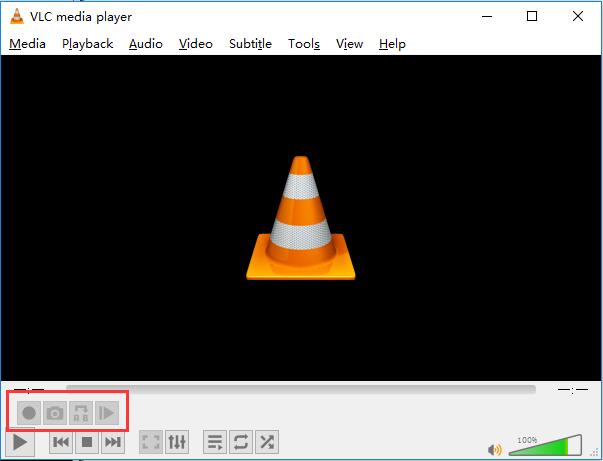
- Step 1: Launch VLC Media Player and click on the "Media" option. Now, from the drop-down menu, click on the "Convert/Save" option.
- Step 2: When the new window opens, click on the "File" option. Click on the "Add" option and upload the 4K video. Once done, click on the "Convert/Save" option and then hit the "Convert" tab.
- Step 3: You will see a list of formats. You can choose the recommended format, which is "Video - H.264 + MP3 (MP4)", else, pick one as per your requirements.
- Step 4: After you have chosen the format, click on the "Wrench" icon. When the window for Profile opens, click on the "Video Codec" option, next click on "Resolution", and in the "Frame Size" section, choose 1920x1080. Finally, click on the "Save" option.
2Adobe Premiere Pro
When it comes to Mac users, there aren't that many video converters that can seamlessly convert 4K videos to 1080p. So, if you want to convert 4K to 1080p, try using Adobe Premiere Pro. Adobe Premiere Pro is primarily a video editor but works as a converter too. One thing that truly stands out is its automatic formatting feature. You just need to choose a social media platform and it converts the video, which is best suitable for that social media platform.
- Pros:
- Work seamlessly and the success rate is high
- Can convert both 4K and 1080p videos
- Have an automatic formatting feature
- Have separate video and audio elements
- Cons:
- Not good for beginners and the learning curve is steep
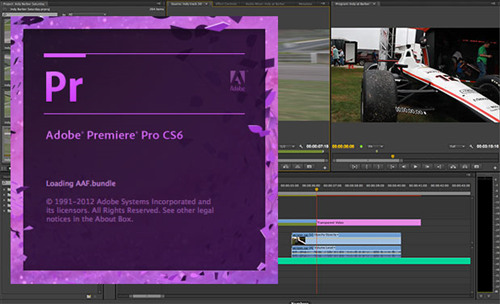
- Step 1: First, download Adobe Premiere Pro and launch it. Now, upload the 4K video that you want to downscale by dragging and dropping the file or uploading it manually.
- Step 2: Once done, click on the "Sequence" option followed by "Sequence Settings". When the new window opens, you need to check the "Frame" size. You will see it in the "Video" section. Here, set the frame size to 1920 and make the horizontal section 1080.
- Step 3: After making the changes, click on the "OK" option.
- Step 4: To export the media file, go to "File" and hit the "Export" option.
3HandBrake
HandBrake is a good 4K to1080p downscaler to convert 4K to 1080p. It is open-source program and compatible with Windows, Mac, and Linux. Most professionals use HandBrake for post-production work. It lets you convert videos into WebM, MKV, and MP4 formats. Whether you want to convert videos that you have in your video camera, tablet, mobile, or other kinds of 4K videos, HandBrake lets you do that easily.
- Pros:
- It converts 4K videos into different video formats, including MP4
- It lets you adjust the volume
- The interface is easy to understand
- Provide you with a live preview
- Cons:
- It is not beginner-friendly
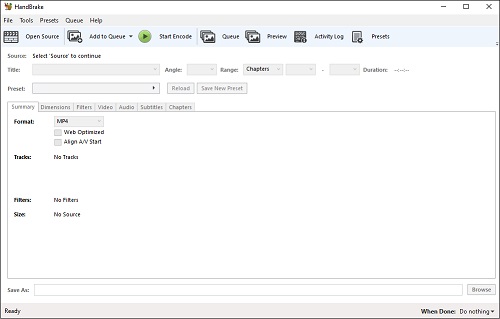
- Step 1: Download HandBrake and launch it. Click on the "Open Source" option to upload the 4K video. Alternatively, you can drag and drop the file too.
- Step 2: Go to "Presets" and check the 1080p preset and click it.
- Step 3: Now click "Browse" to determine the file name and save path.
- Step 4: Select "Start Encode" and the video will be compressed to 1080p resolution.
4FFmpeg
FFmpeg operates on Linux, Mac, and Windows and is pretty easy solution on how to downscale 4K to 1080p. It is also an open-source video converter and has good reviews online. Along with converting the videos to a lower resolution, it lets you change the video formats too, such as MP4, AMD, MOV, etc. It provides users with multiple video editing features, making it an excellent choice for professionals.
- Pros:
- It is free to use
- It lets you convert videos to multiple formats
- Streaming support is good
- It lets you capture screens
- Cons:
- The learning curve is steep
- Step 1: First, launch FFmpeg and click on the "Scale" filter.
- Step 2: Enter the command "ffmpeg -i input.mp4 -vf scale=$w:$h <encoding-parameters> output.mp4".
- Step 3: The $w and $h that you see are for width and height. So, change it to 1920 and 1080 to resize the media file.
Part 3. Convert 4K to 1080p on iPhone
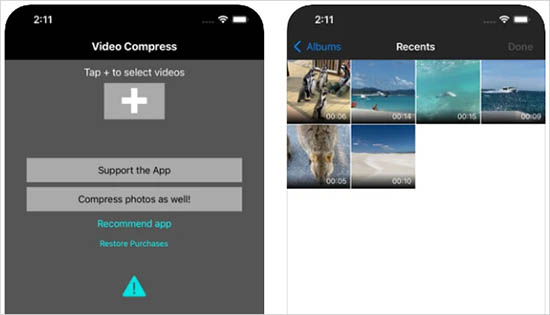
For iPhone users, the go-to app to downgrade a video from 4K to 1080p is Video Compress - Shrink Vids. It is available in the App Store for free download and allows you to compress video based on your requirements. Not just this, once you downscale a video resolution, you can even preview the file. It is compatible with iPhone, iPod, and iPad.
- Pros:
- Easy to use for iPhone users
- The interface is easy to understand
- Multiple video resolutions available to downscale
- Preview option is available
- Cons:
- Less video editing features
- Step 1: Install Video Compress - Shrink Vids on your iPhone. The "Video Compress" screen will have a + icon. Click on the + icon to upload the 4K video.
- Step 2: Click on the "Choose Preset" option after the video is uploaded.
- Step 3: From the drop-down menu, hit the option that says 1920x1080.
- Step 4: Finally, click on the "Continue" option. Please give the app some time to complete the downscale process.
Part 4. Convert 4K to 1080p on Android
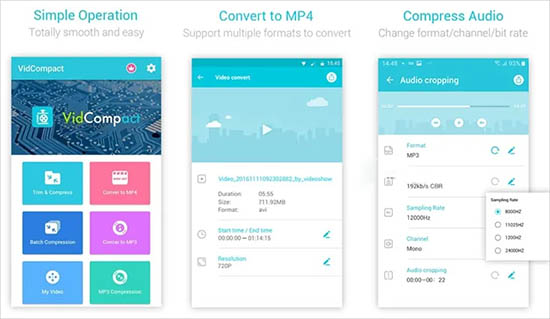
The one we recommend for Android devices is Video Compressor Mp3 Converter. It is a video converter, compressor, audio converter, and trimmer. Using Video Compressor Mp3 Converter is easy and it comes with additional video editing features, such as trim and crop. It provides you with multiple resolution, such as 1080p, 720p, etc.
- Pros:
- It compresses 4K videos
- It can convert videos to different video formats
- It is easy to use
- The interface is beginner-friendly
- Cons:
- Users have complained about lots of ads
- Step 1: Download Video Compressor Mp3 Converter and let it get installed.
- Step 2: Launch the app and click on the "Lossless Compress" option.
- Step 3: Upload the 4K video and click on the "Resolution" option.
- Step 4: From the list, select 1080p and click on the "Save" option.
Part 5. Convert 4K to 1080p Online
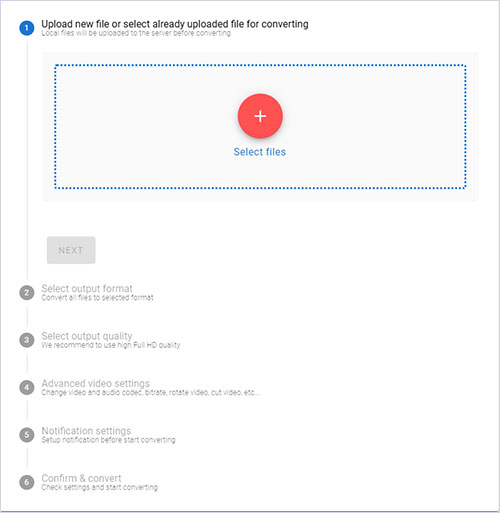
HD Convert is an online tool that lets you convert 4K videos to 1080p conveniently by following just a few simple steps. The best part about HD Convert is that it is free and won't cost you anything. No matter how big the 4K video file size is, HD Convert puts no restriction. And since it is online software, no need to worry about downloading the tool or installing plug-ins. Some of the output formats that HD Convert accepts are MP4, AVI, etc.
- Pros:
- It is a free online converter tool
- There is no file size limit
- It converts video fast
- Convert files to multiple video formats
- Cons:
- Converted videos contain brand watermarks
- Step 1: Visit its official website. Click on the "CONVERT FILE NOW" option.
- Step 2: Choose a video format, such as MP4, MOV, AVI, etc.
- Step 3: Select an output quality, which is 1080p.
- Step 4: Once the compression is done, click on the "Download" tab to download the compressed video.
Conclusion:
Now you know how to convert 4K to 1080p video resolution. Out of all the solutions, the one that we recommend is trying an advanced 4K to 1080p converting tool, and for that, you can try Joyoshare VidiKit. It is a trustworthy tool and is used by many professionals. Go on and download it today to enjoy your conversion process without losing quality!
