The release of iOS 11 gives birth to a new image format, HEIC. Though HEIC can perform as the most efficient format with delighting storage capability, it also raises a series of problems. Among them, converting HEIC images to other formats draws much concern. With the exception of HEIC to JPG conversion and HEIC to PNG conversion, some conversion modes like HEIC to TIFF, HEIC to BMP, etc, are notable. Here we will lead you to convert your HEIC images to TIFF in 3 simple steps.
- Step 1. Select A Decent HEIC Converter
- Step 2. Setup Conversion Options
- Step 3. Start to Convert HEIC to TIFF
Step 1. Pick Up A Professional Program to Convert HEIC Images
Thankfully, there are a large number of converting tools developed to help you convert HEIC images to TIFF and other accessible formats effectively. It is necessary for you to choose a proper converter according to your own preferences. To make the conversion process secure and smart, we would like to recommend Joyoshare HEIC Converter here. It is excellent enough to provide you with all-in-one solution. Differing from other HEIC converters in market, it has the option of recognizing all types of HEIC images in fast way, for instance, photo bursts, single image, live photos, etc. Besides, it won't break down suddenly even if you convert HEIC images in batch at a time. On the contrary, you will be shocked at its high-efficiency.
Furthermore, Joyoshare HEIC to TIFF Converter is capable of converting HEIC images to not only TIFF, but also JPG, PNG, GIF, BMP and WEBP in lossless quality. It also enables you to customize resolution and adjust quality flexibly. To make your converted images more special, you are permitted to decide whether to output all HEIC images, keep aspect ratio or preserve EXIF information. It is noteworthy that Joyoshare HEIC Converter can protect your privacy strictly as the whole conversion process is done offline, requiring no image-uploading to Cloud.
Key Features of Joyoshare HEIC to TIFF Converter:
Recognize all HEIC images from iDevice smartly
Convert HEIC images to TIFF in high quality
With more output formats: JPG, PNG, GIF, BMP and WEBP
Support converting HEIC images individually and in bulk
Prevent privacy leakage
Keep EXIF information and maintain original aspect ratio
Allow quality-adjusting as well as resolution-setting
Step 2. Navigate to Conversion Parameters
After you finished the installation of Joyoshare HEIC Converter, you are supposed to get accustomed to its layout and operation. With a clean and simple interface, it is easy to fulfill HEIC to TIFF conversion. The complete instruction is listed as blow for your kindly reference.
Step 1 Sync HEIC images from iDevice to your computer
To make the conversion process smoothly, you have to upload and transfer all HEIC images to be converted from your iPhone/iPad/iPod to your computer firstly. Only by taking the aid of a USB cable, you can make it.
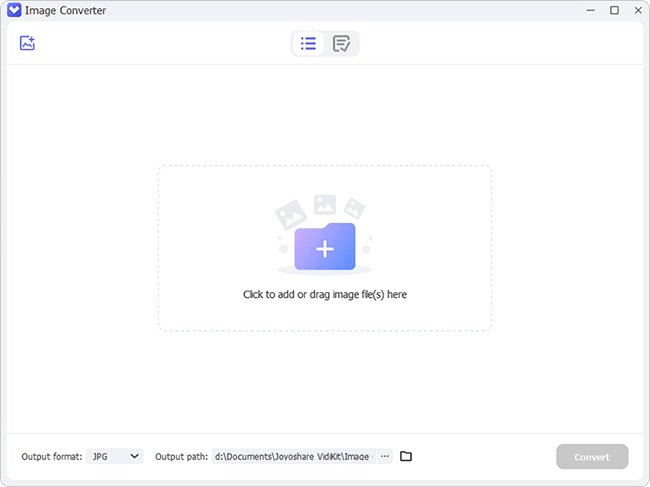
Step 2 Put HEIC files in Joyoshare HEIC to TIFF Converter
Similar to most HEIC converters, Joyoshare HEIC to TIFF Converter offers ability to import HEIC files in different way. Show it in details you have to simply double click the icon on your desktop to let Joyoshare HEIC Converter run right away. Then you are supposed to click the "+" button located at the left bottom corner or directly drag HEIC file(s) from local folder. It depends on you whether to convert HEIC images one by one or in batch each time.
Step 3 Decide converting parameters
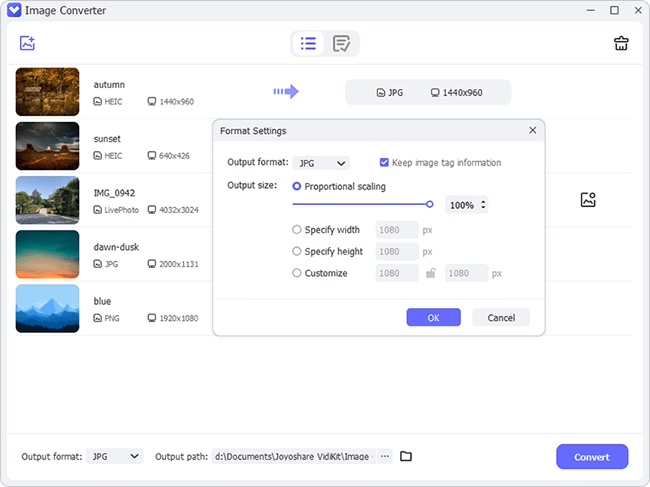
The imported HEIC files will be presented in the main conversion interface as follows:
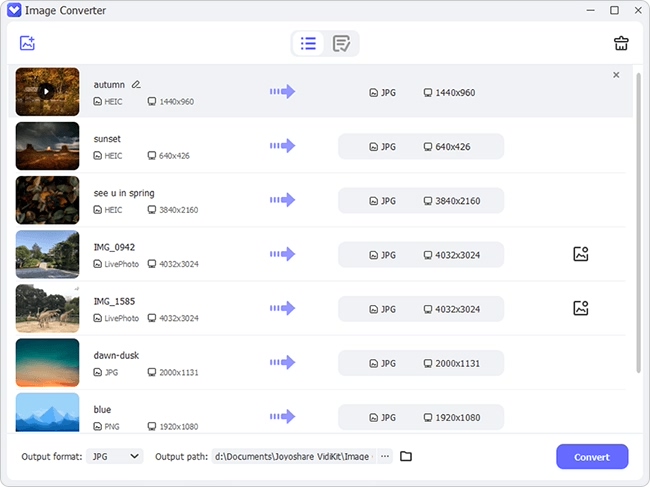
By pressing the "Format" panel, you will see all settings shown orderly. The essential step is to choose "TIFF" as output format. Then you can head to other available options. Set resolutions in your way to change the width and height accordingly. Joyoshare HEIC Converter also can be used to adjust quality exactly. Certainly, in order to produce images in high quality, 100% is more suitable. Aside from quality and resolution, there are more access to empower you to output all images, keep aspect ratio and keep EXIF information. You can tick any one you need.
Note:
Output all images: HEIC is a special format is made up of all types of images, like single image, photo bursts and animations. If you don't tick it, you will get the main image only. However, given that you want to export all images in your destination file, you'd better select this option.
Keep aspect ratio: Once you customize resolution in your way, you will get a piece of image that is blurred. To keep the same aspect ratio as original one, you should choose it so that the converted images will be added Gaussian blur perfectly.
Keep Exif information: To preserve all metadata, like Model, Orientation (rotation), Date and time, FlashPix version, etc, you have right to realize it. Only when you utilize Joyoshare HEIC Converter to convert HEIC to JPG can you see the effect obviously.
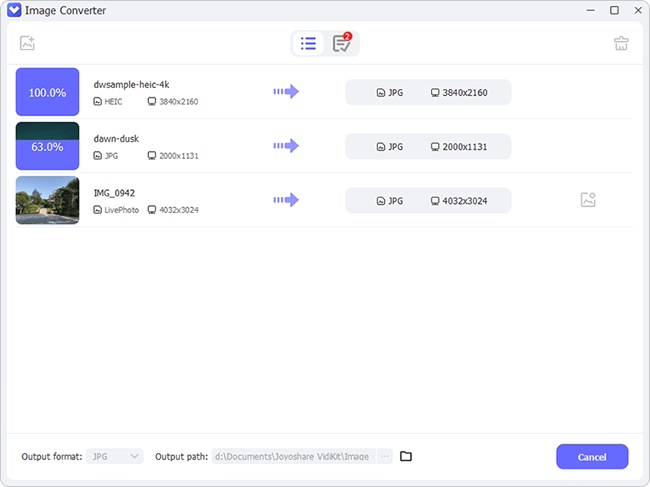
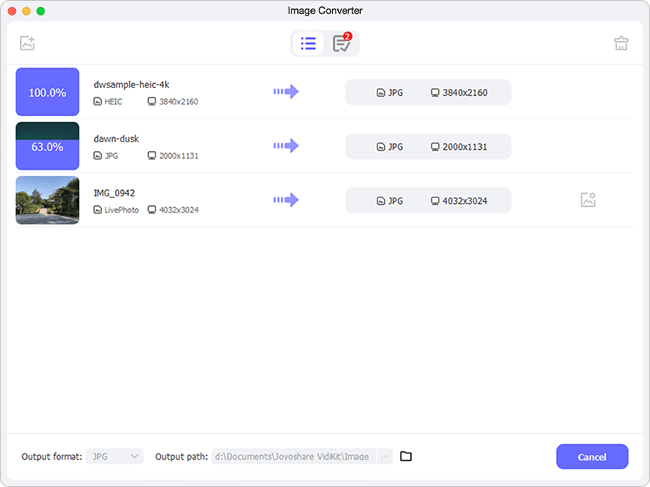
Step 3. Initiate HEIC to TIFF Conversion Process
Supposing that all vital parameters are chosen based on your requirements, you can go straight to accomplish the conversion process. Hit the "Conversion" button at the right bottom corner. Joyoshare HEIC Converter will do a good job for you within only few seconds. Any destination file will be saved in "History folder".